A design using an IBC tank
An IBC tank makes a quick and easy compost bin. It’s over a cubic metre, so it has the capacity to build up some heat when it’s filled. It has a tap at the bottom, and a shallow channel, making collecting the liquid that drips from the heap easy. It needs some air holes drilling in near the bottom (not right at the bottom or in the bottom, or you’ll lose all your liquid!). And it’s easy to cut off the top and make it into a lid. I’ll show you how.
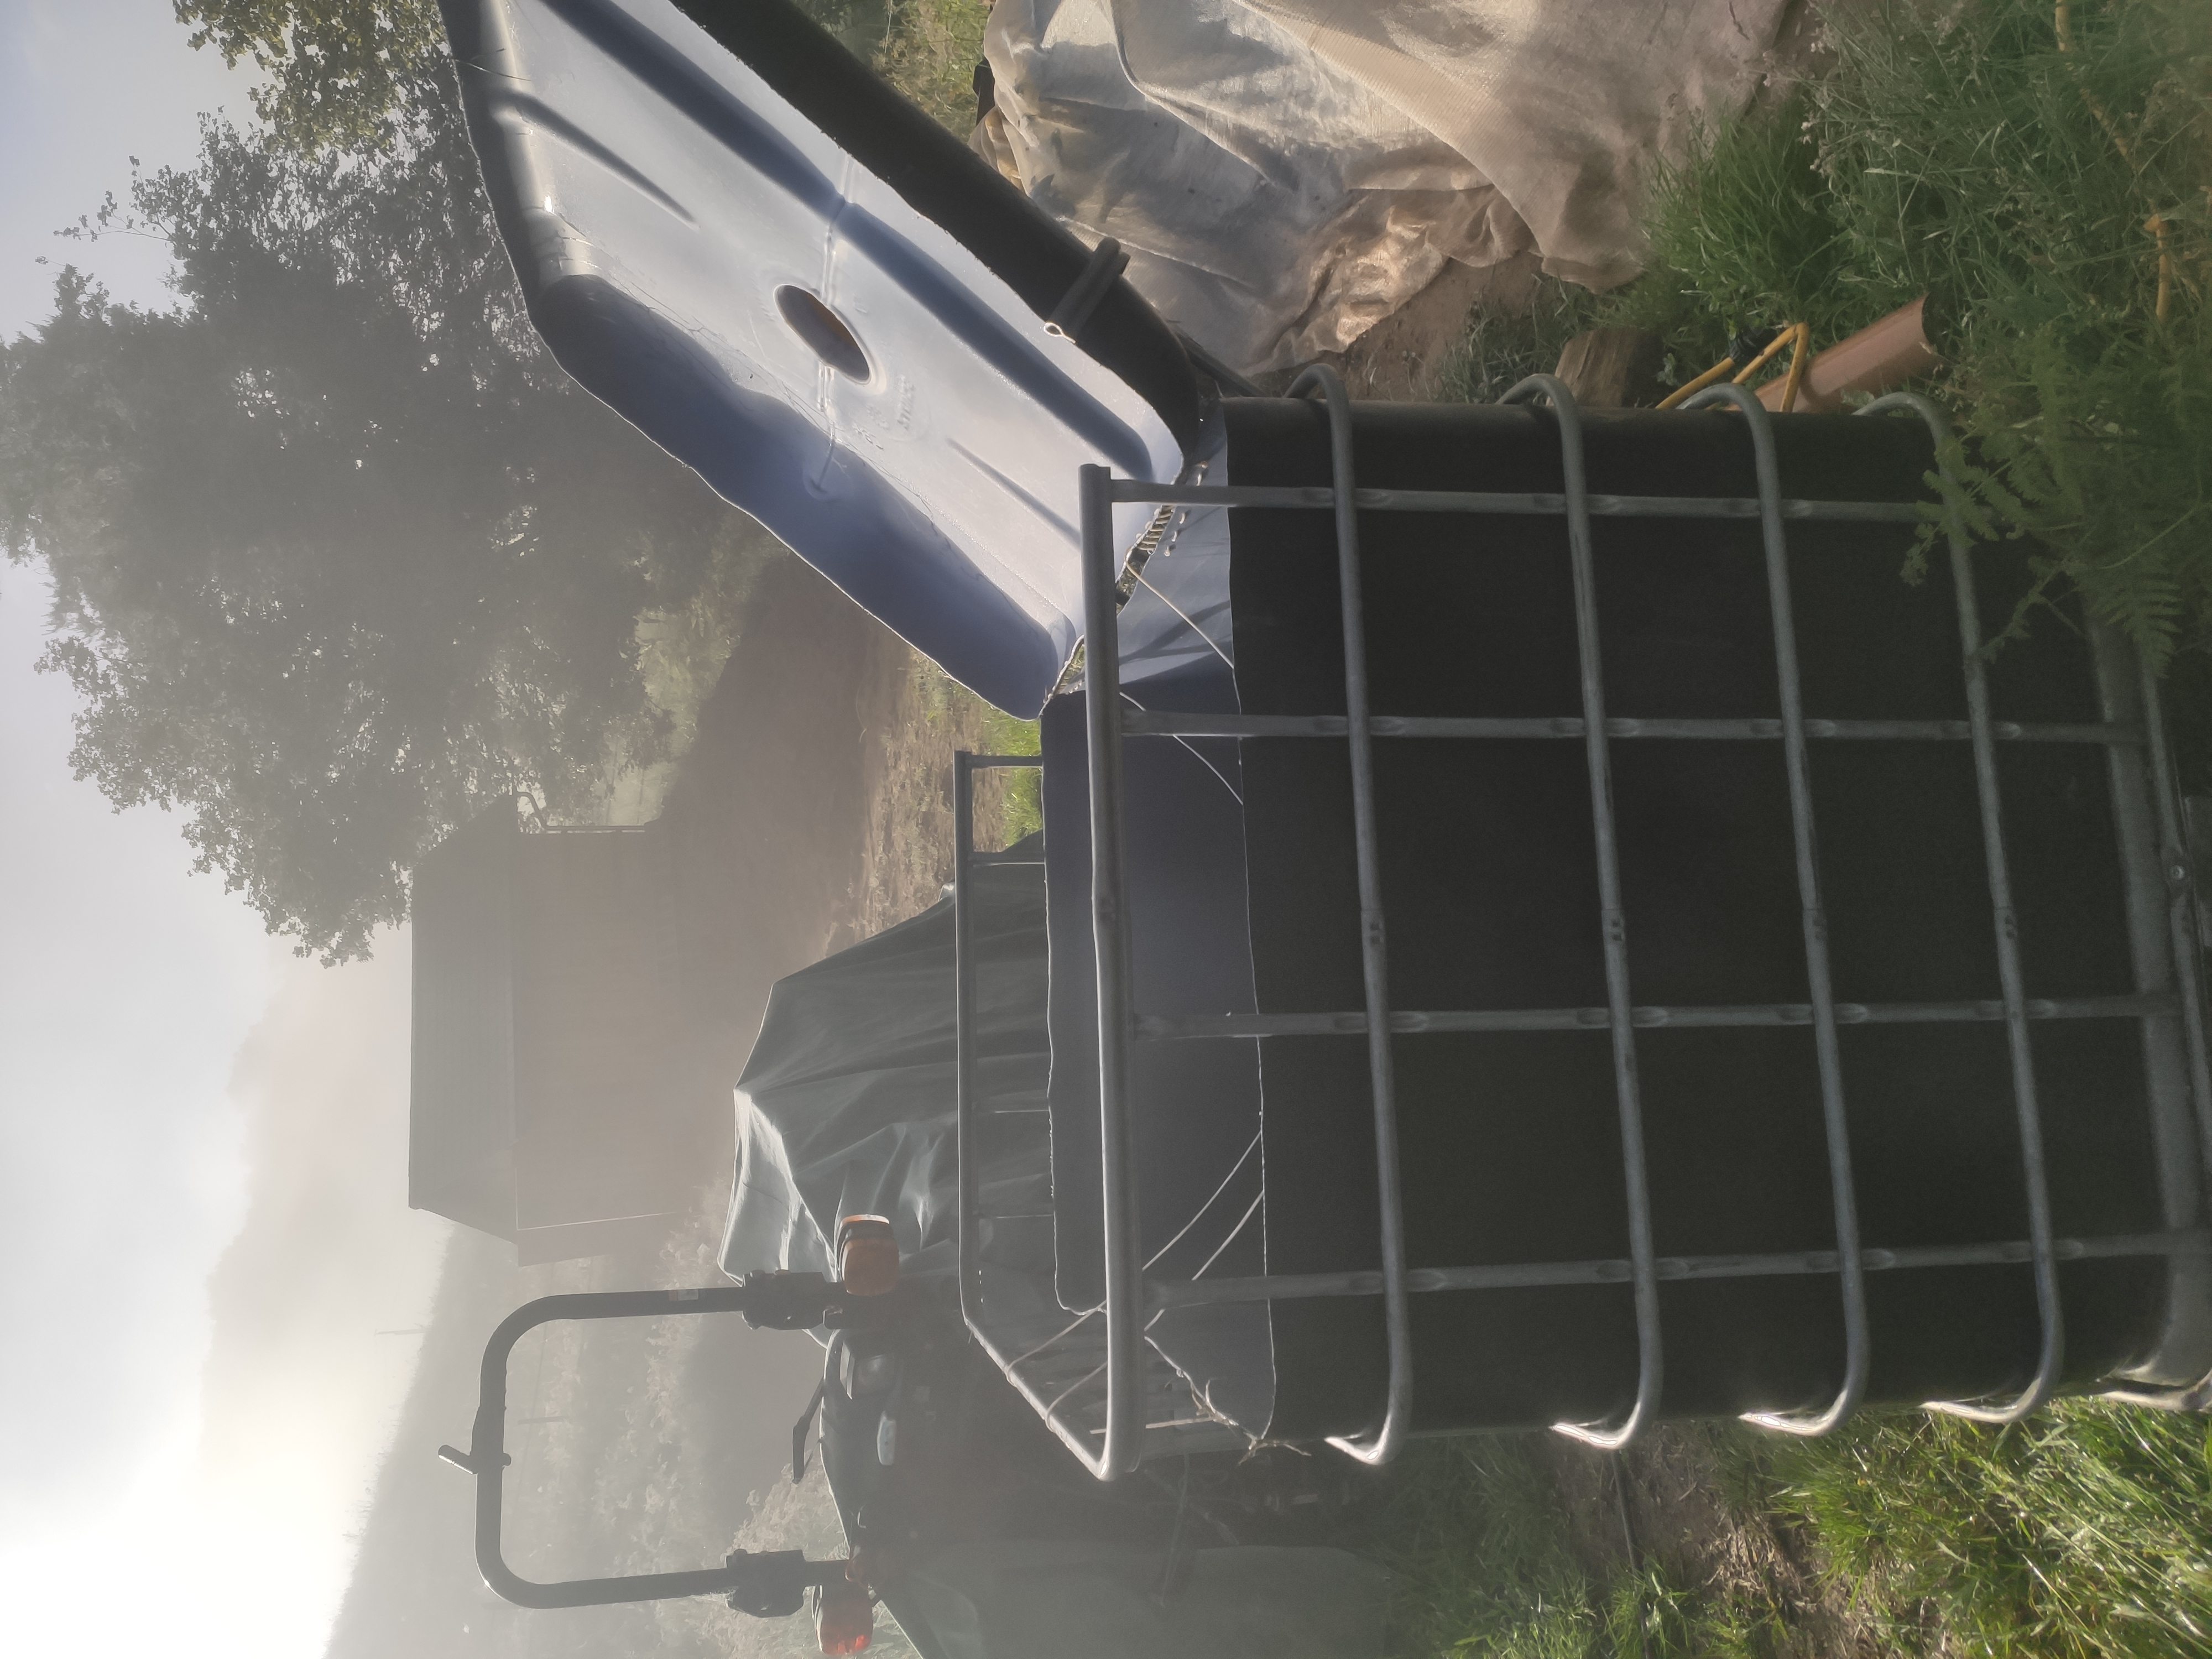
This is a quicker and easier option than the concrete compost bins, but I didn’t think of it first. However, I've since realised that since my garden is so enclosed, there was no way I was going to get an IBC tank into it. So, if you have the choice I’d recommend the IBC tank design. The concrete design is fine for when you can’t get an IBC tank on site.
I use a black tank. A white/transparent tank will look ugly and the light that gets in will be enough to allow some weeds to grow. Metal tanks are available too. I haven’t tried one, but a metal one won’t maintain the heat in the compost so well, and a bit of heat speeds up the composting process, kills many pathogens and kills many seeds. So use a black tank if you can. You can buy them quite cheaply second hand, but make sure they have only been used for storing water, or vegetable oil or something innocuous like that. A tank that has contained chemicals or diesel is no use, as it will contaminate your compost.
Materials Needed
- IBC tank (preferably black)
- Polyester cord (3-4mm)
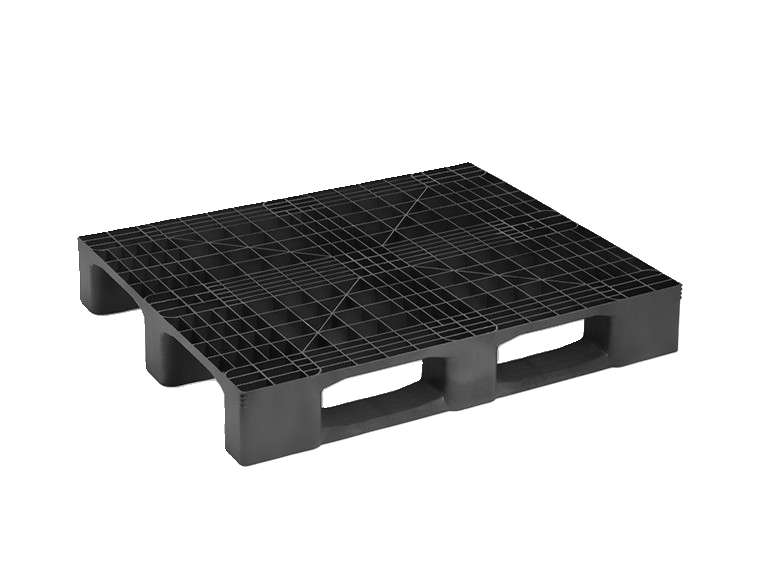
- Plastic pallet
- Non-woven ground cloth or expanded mesh (stainless steel recommended)
- Bucket or separate tank/barrel for liquid collection
Tools Needed
- Spanners
- Jigsaw
- Drill with 3-4mm and 8-10mm drill bits
- Hacksaw or grinder
Steps to Make a Tank
So, here’s how to make a tank. In short, we’re going to:
- Remove the plastic tank from the cage
- Cut the top off and make it into a lid
- Attach the lid with string (stronger, easier and more accurate than you'd think!)
- Alter the cage so that it holds the open lid at a nice angle
- Put the tank back in the cage
- Add a cut down plastic pallet for drainage
An hour’s work if you have tools to hand.
Detailed Instructions
I made my first IBC compost bin and took photographs as I did it, but I forgot to take a photograph before I started.
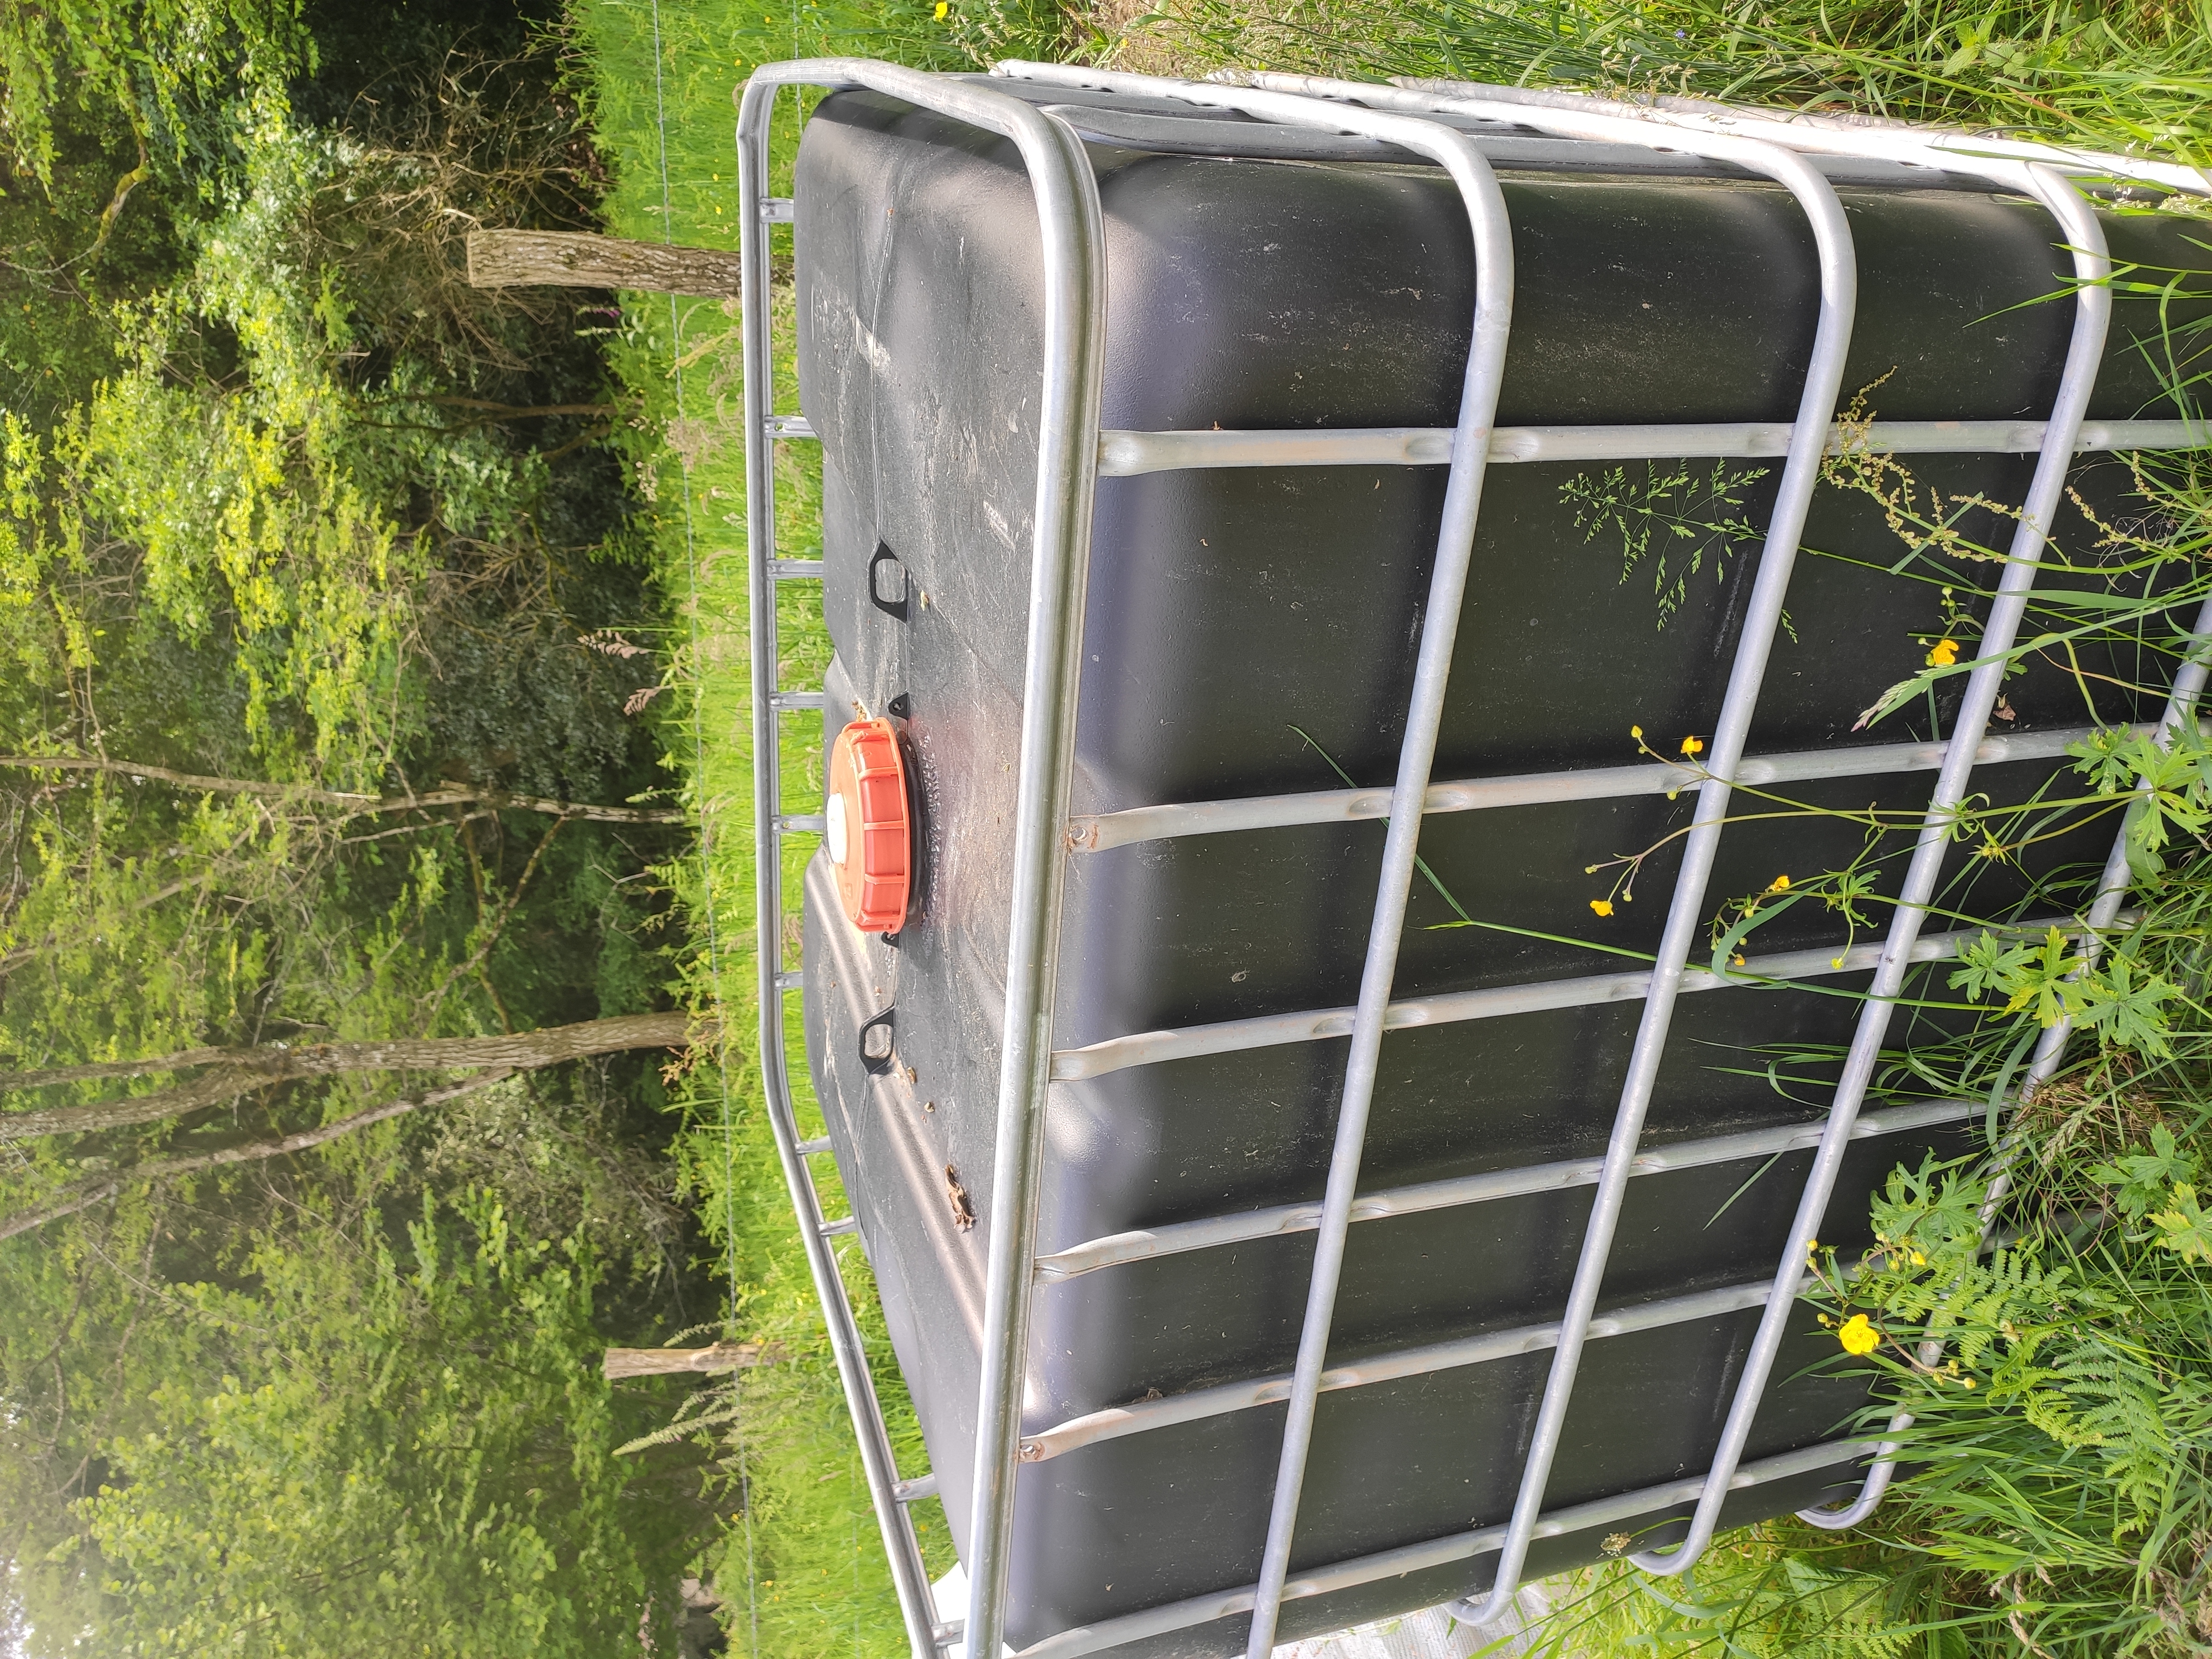
Here’s a picture of the intact tank – except it’s not quite. I’d already started. See those two eyes on the top of the tank? They’ve normally got a couple of aluminium rods poking through that help give the structure some rigidity. Well, the first thing to do is remove those rods. You’ll need spanners to undo them.
With the top rods removed, you can now remove the tank from the cage. Tip it onto its side and slide the tank out.
Next, mark a line around the sides maybe 80-100mm from the top. This is the line you’ll cut along to take off the lid. But don’t cut it yet.
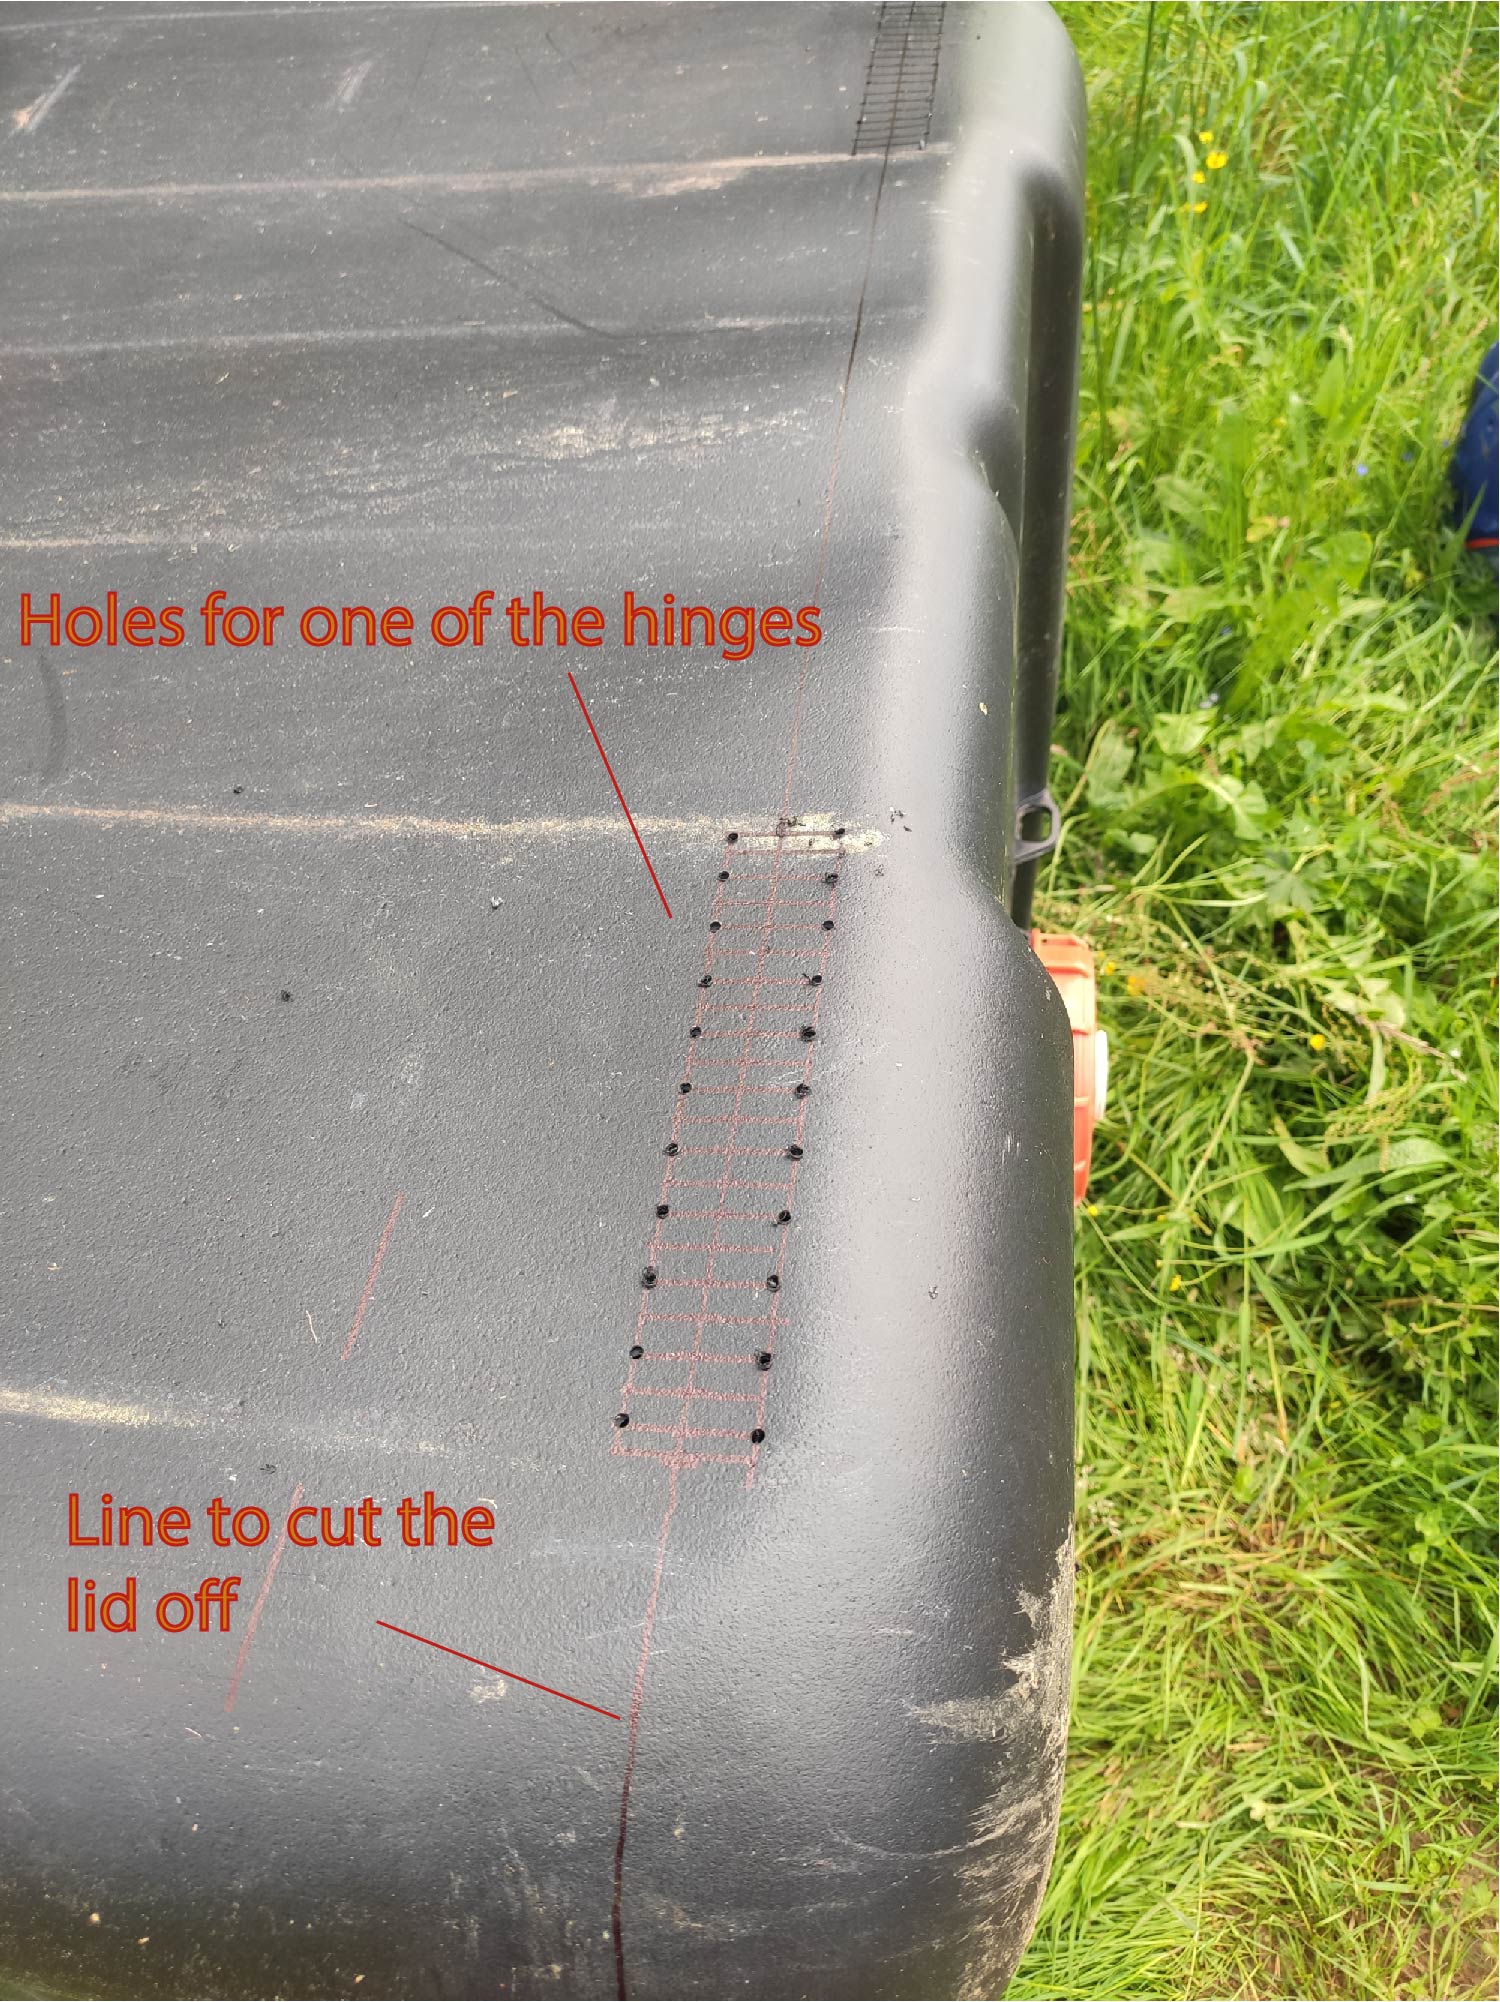
Before you cut the lid off, make some holes for the hinges. I made my hinges with 3-4mm polyester cord. It’s cheap, strong and will last as long as the tank.
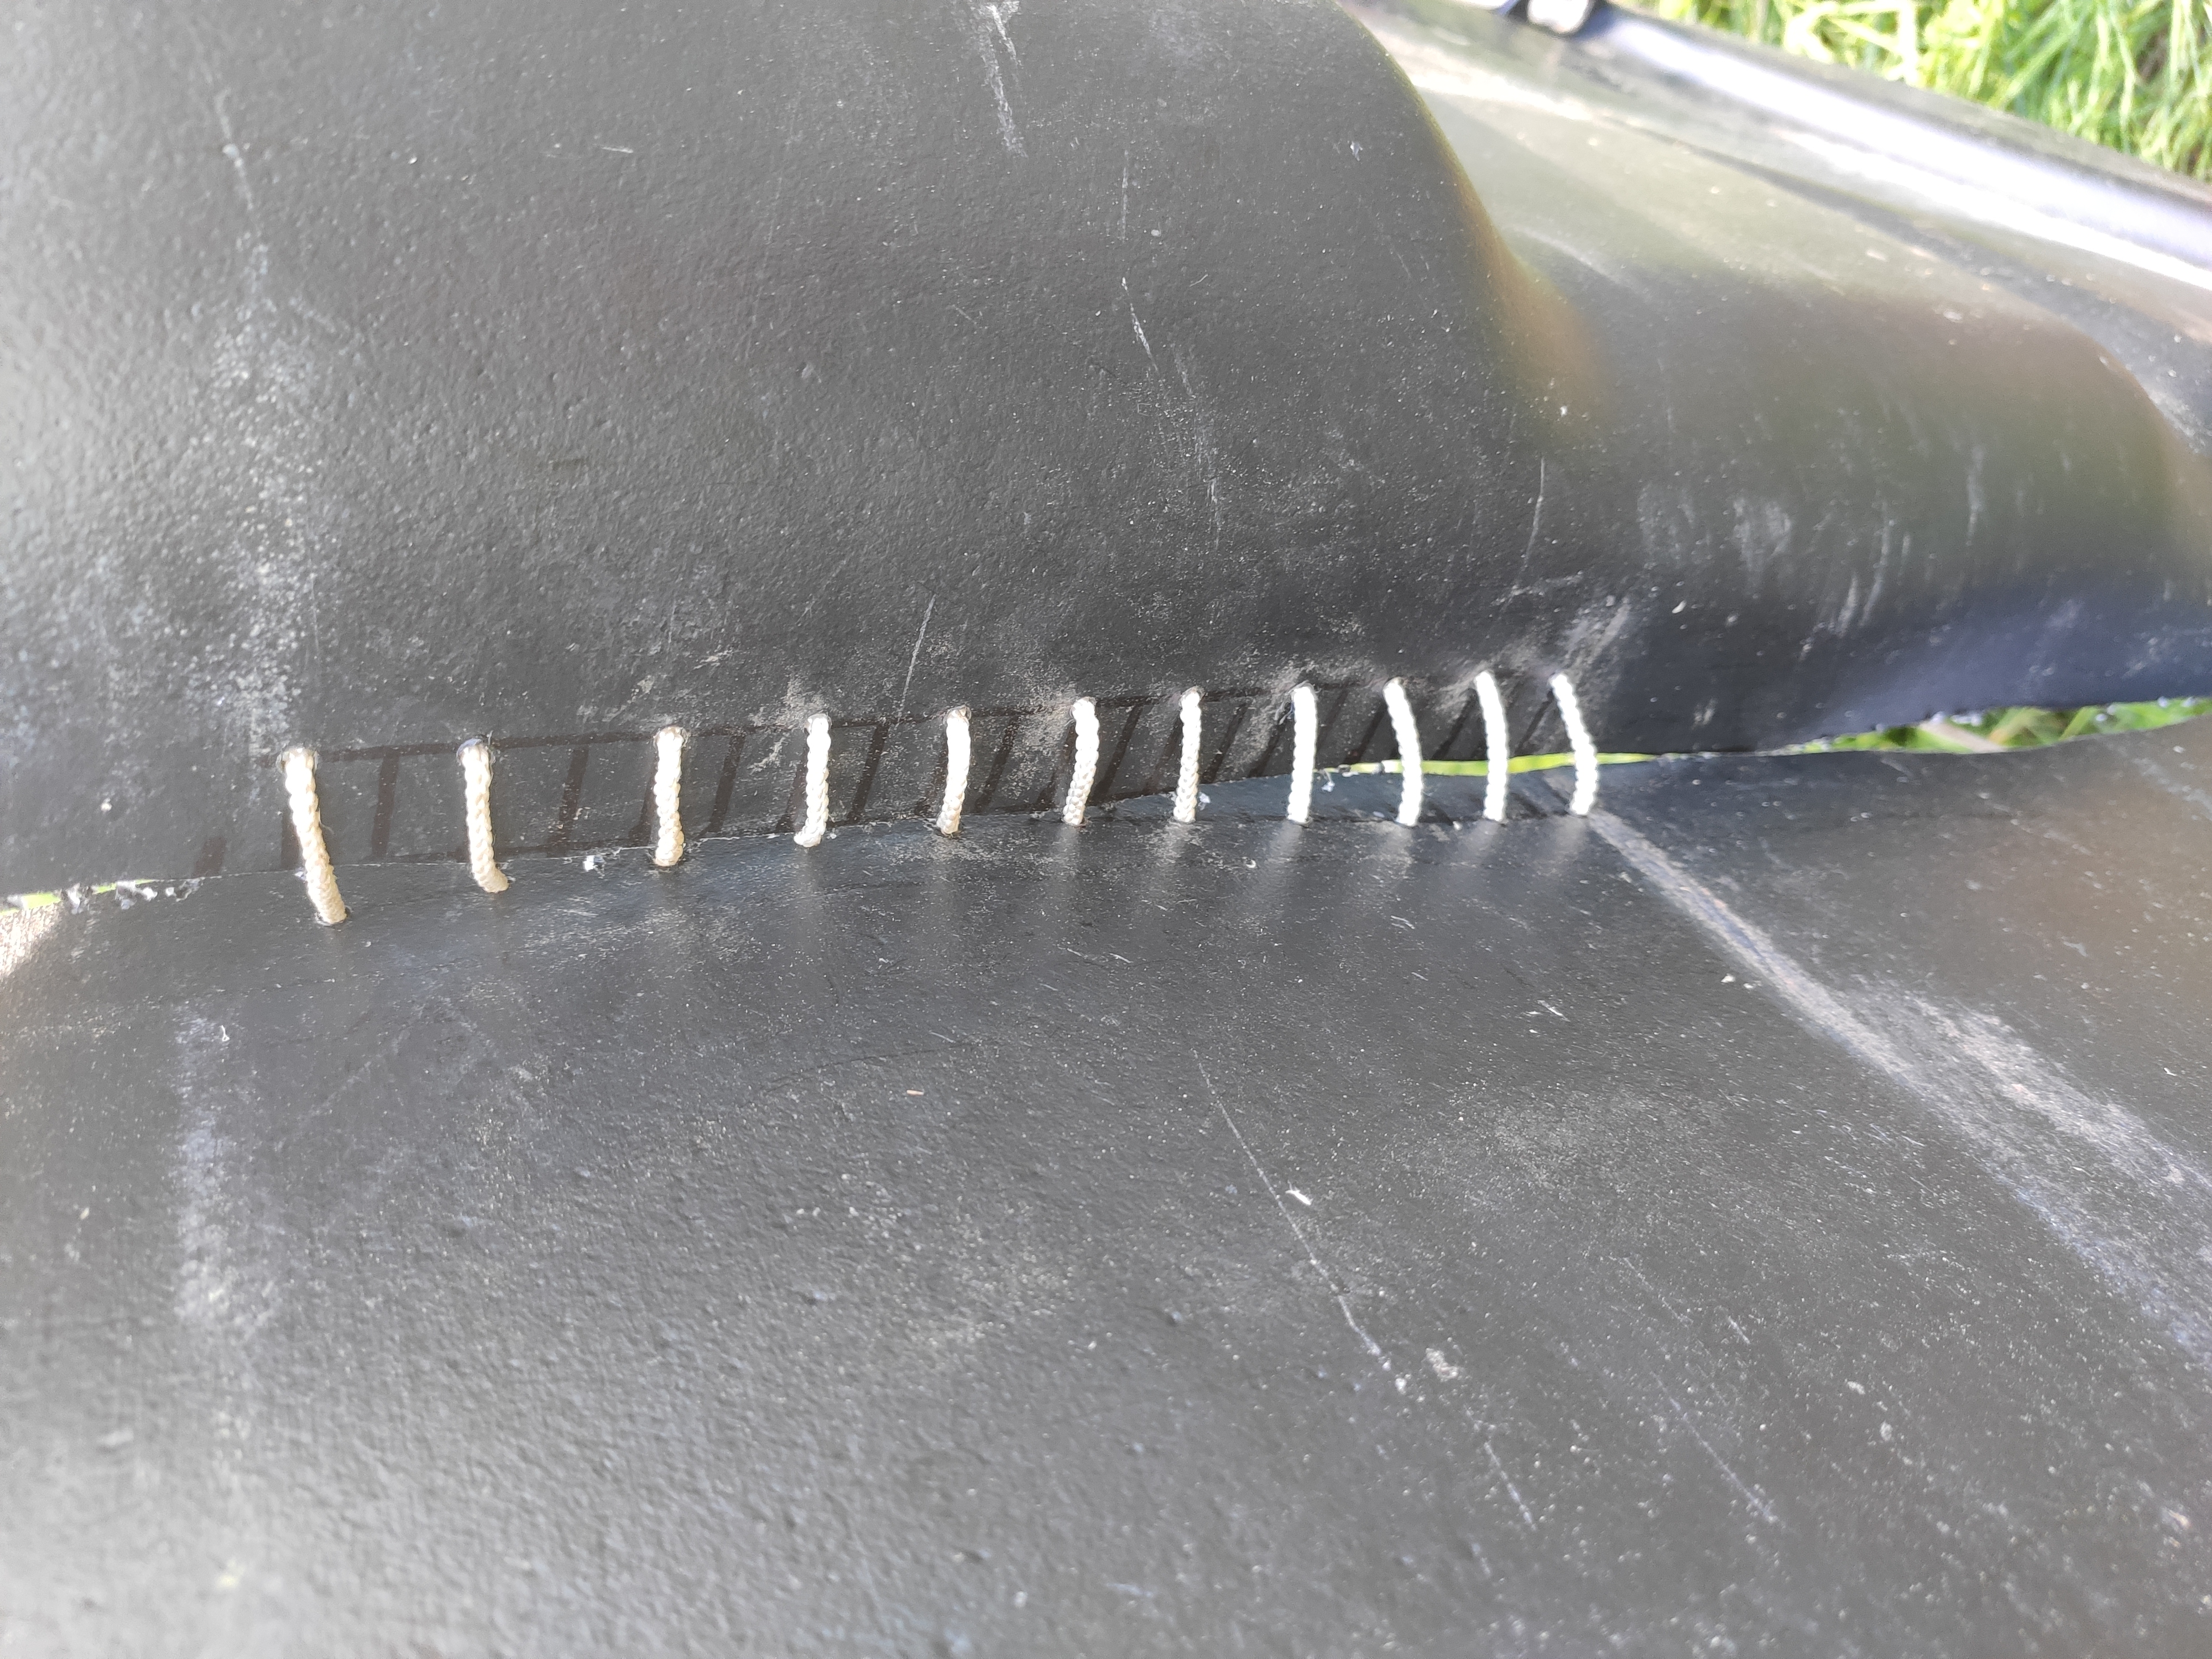
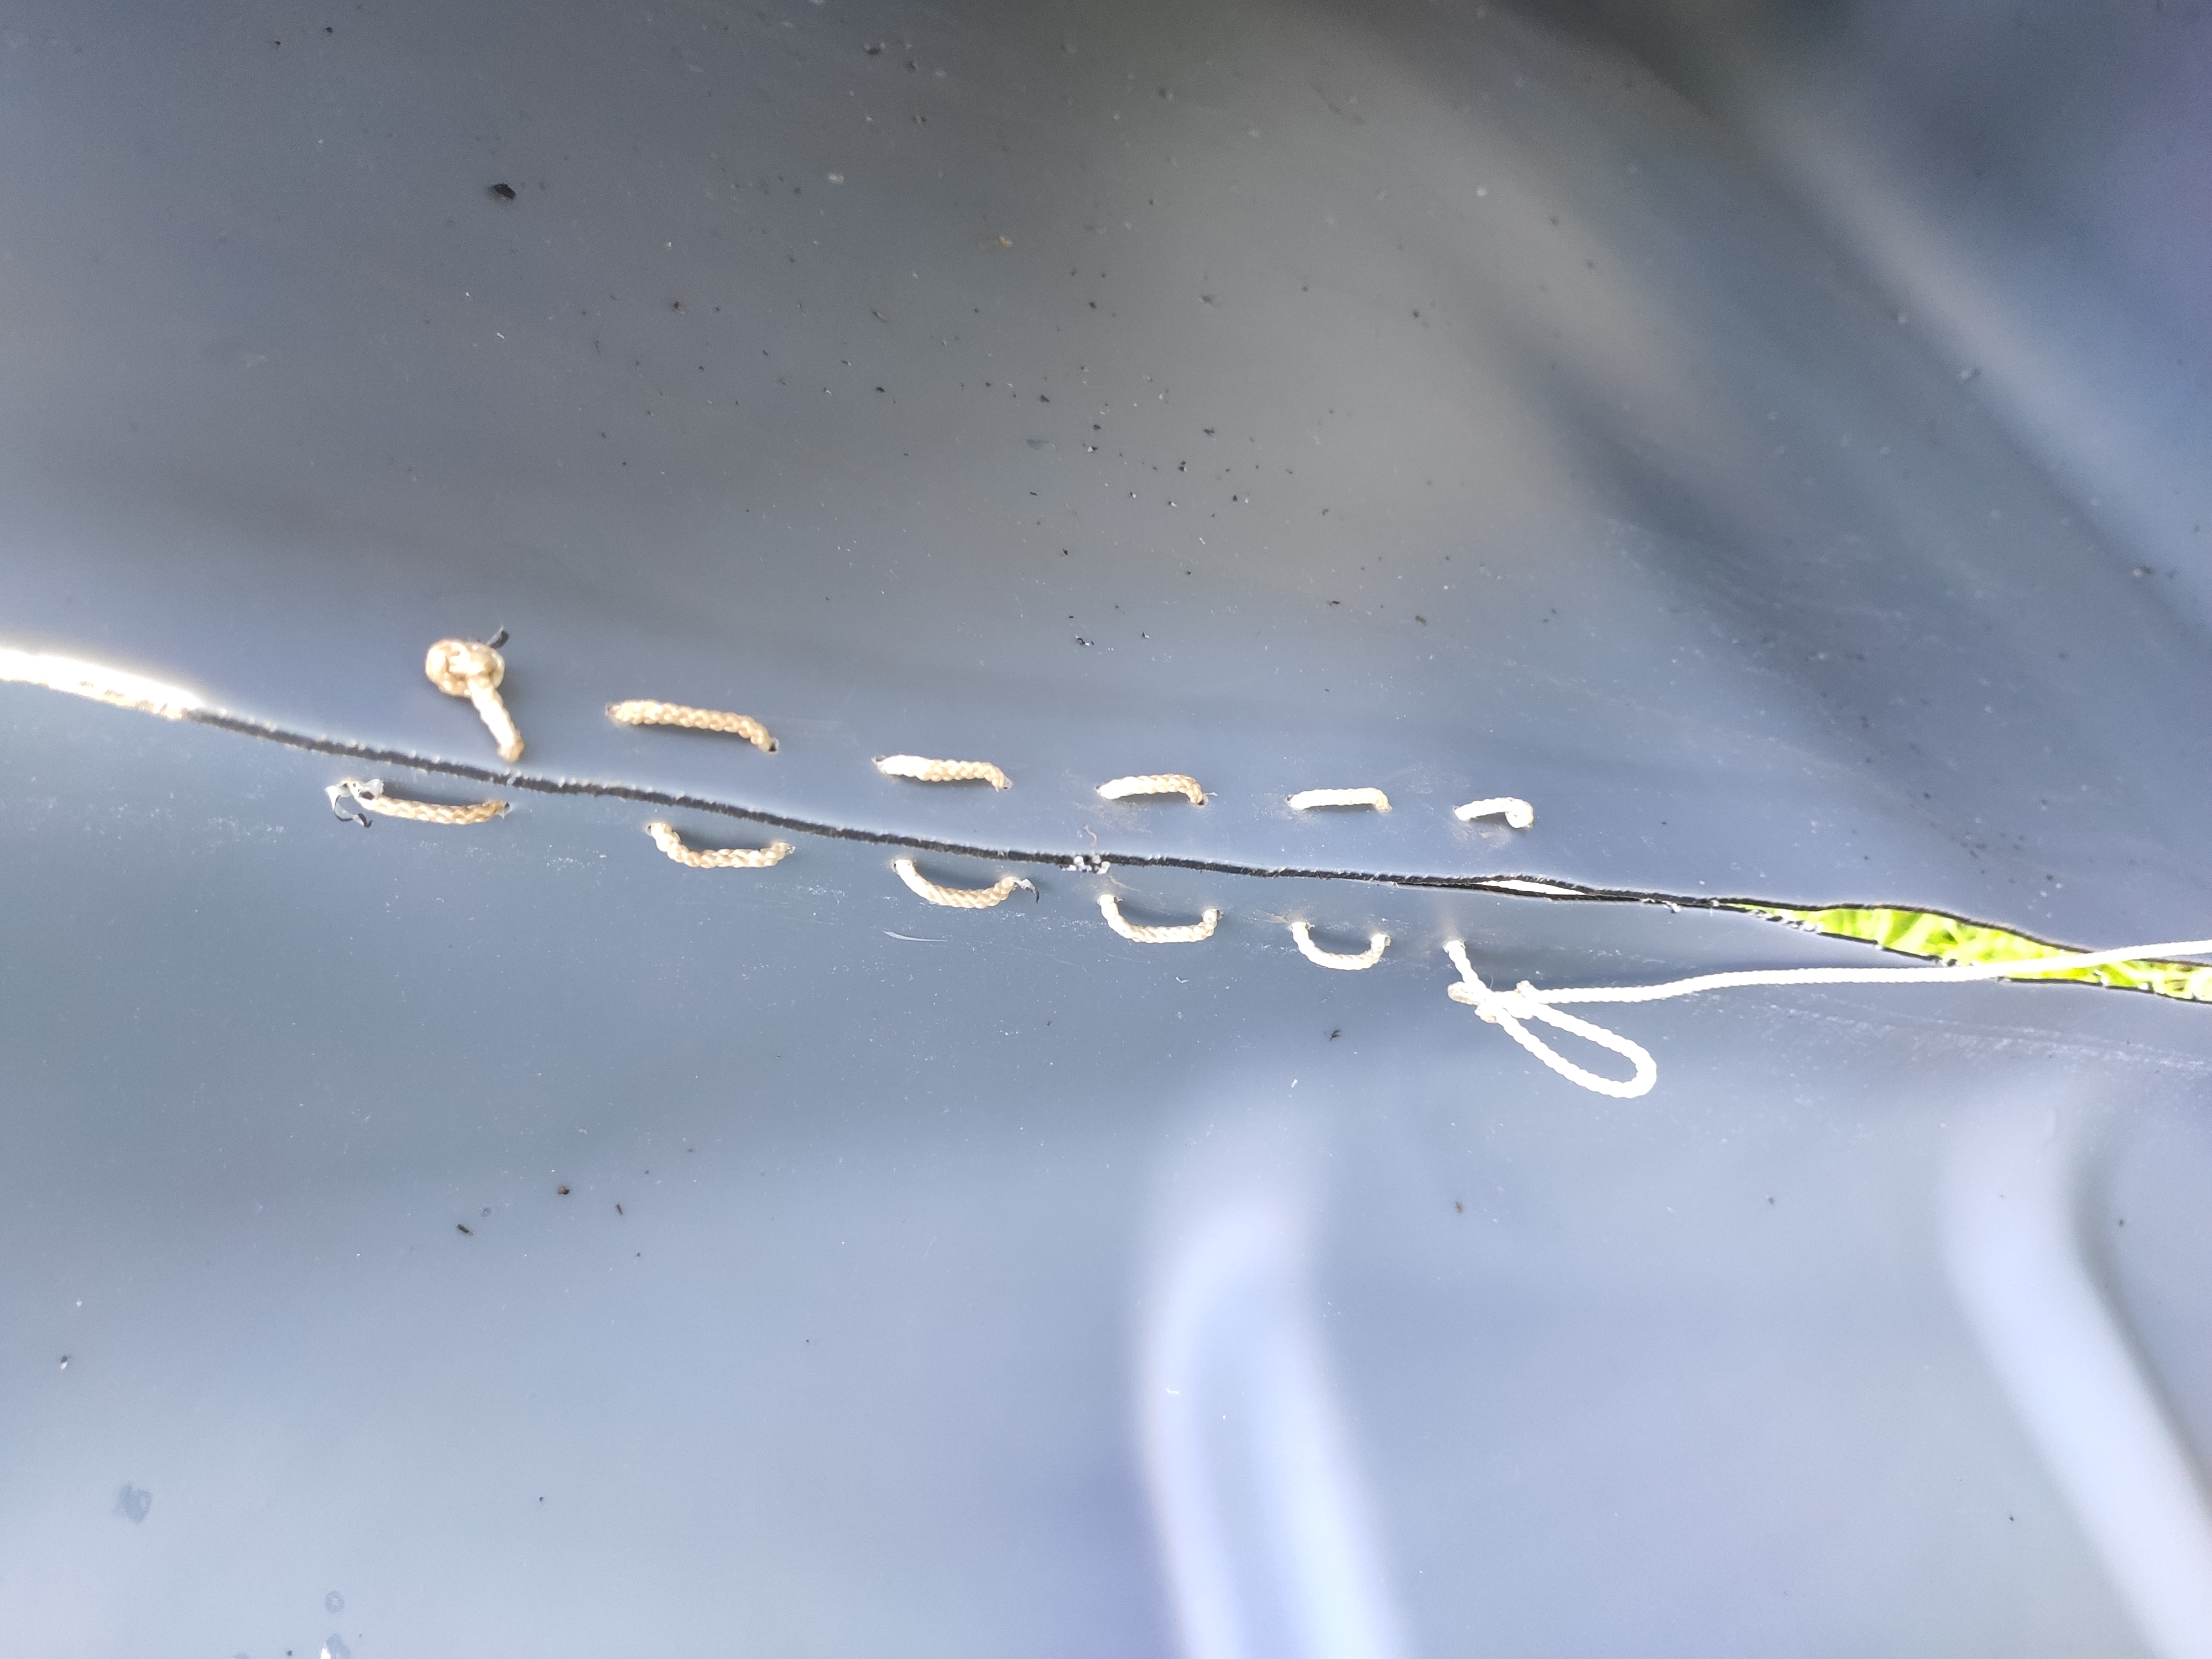
On the rear of the tank, first drill two parallel series of holes as in the photograph, one series for each side. Make the holes on each row vertical, one above the other. That way, we can thread through the string and the lid will stay in line with the tank when you open the lid, and close back down neatly. If the hinge is messy, the lid won’t close evenly and you’ll let out the heat from the heap and allow rodents in.
While you’ve got the drill handy, make some more holes 100mm from the bottom of the tank, to allow air in. I say around, as it depends on the depth of your plastic pallet. You want the holes to be just below the top of the plastic pallet. That keeps a reservoir at the bottom of the tank for retaining liquid and allows air into the bottom of the heap. If you make the holes too high, they’ll become blocked with compost. Too low, you lose some capacity of the reservoir. You need bigger holes than for the hinges. Use an 8-10mm drill bit.
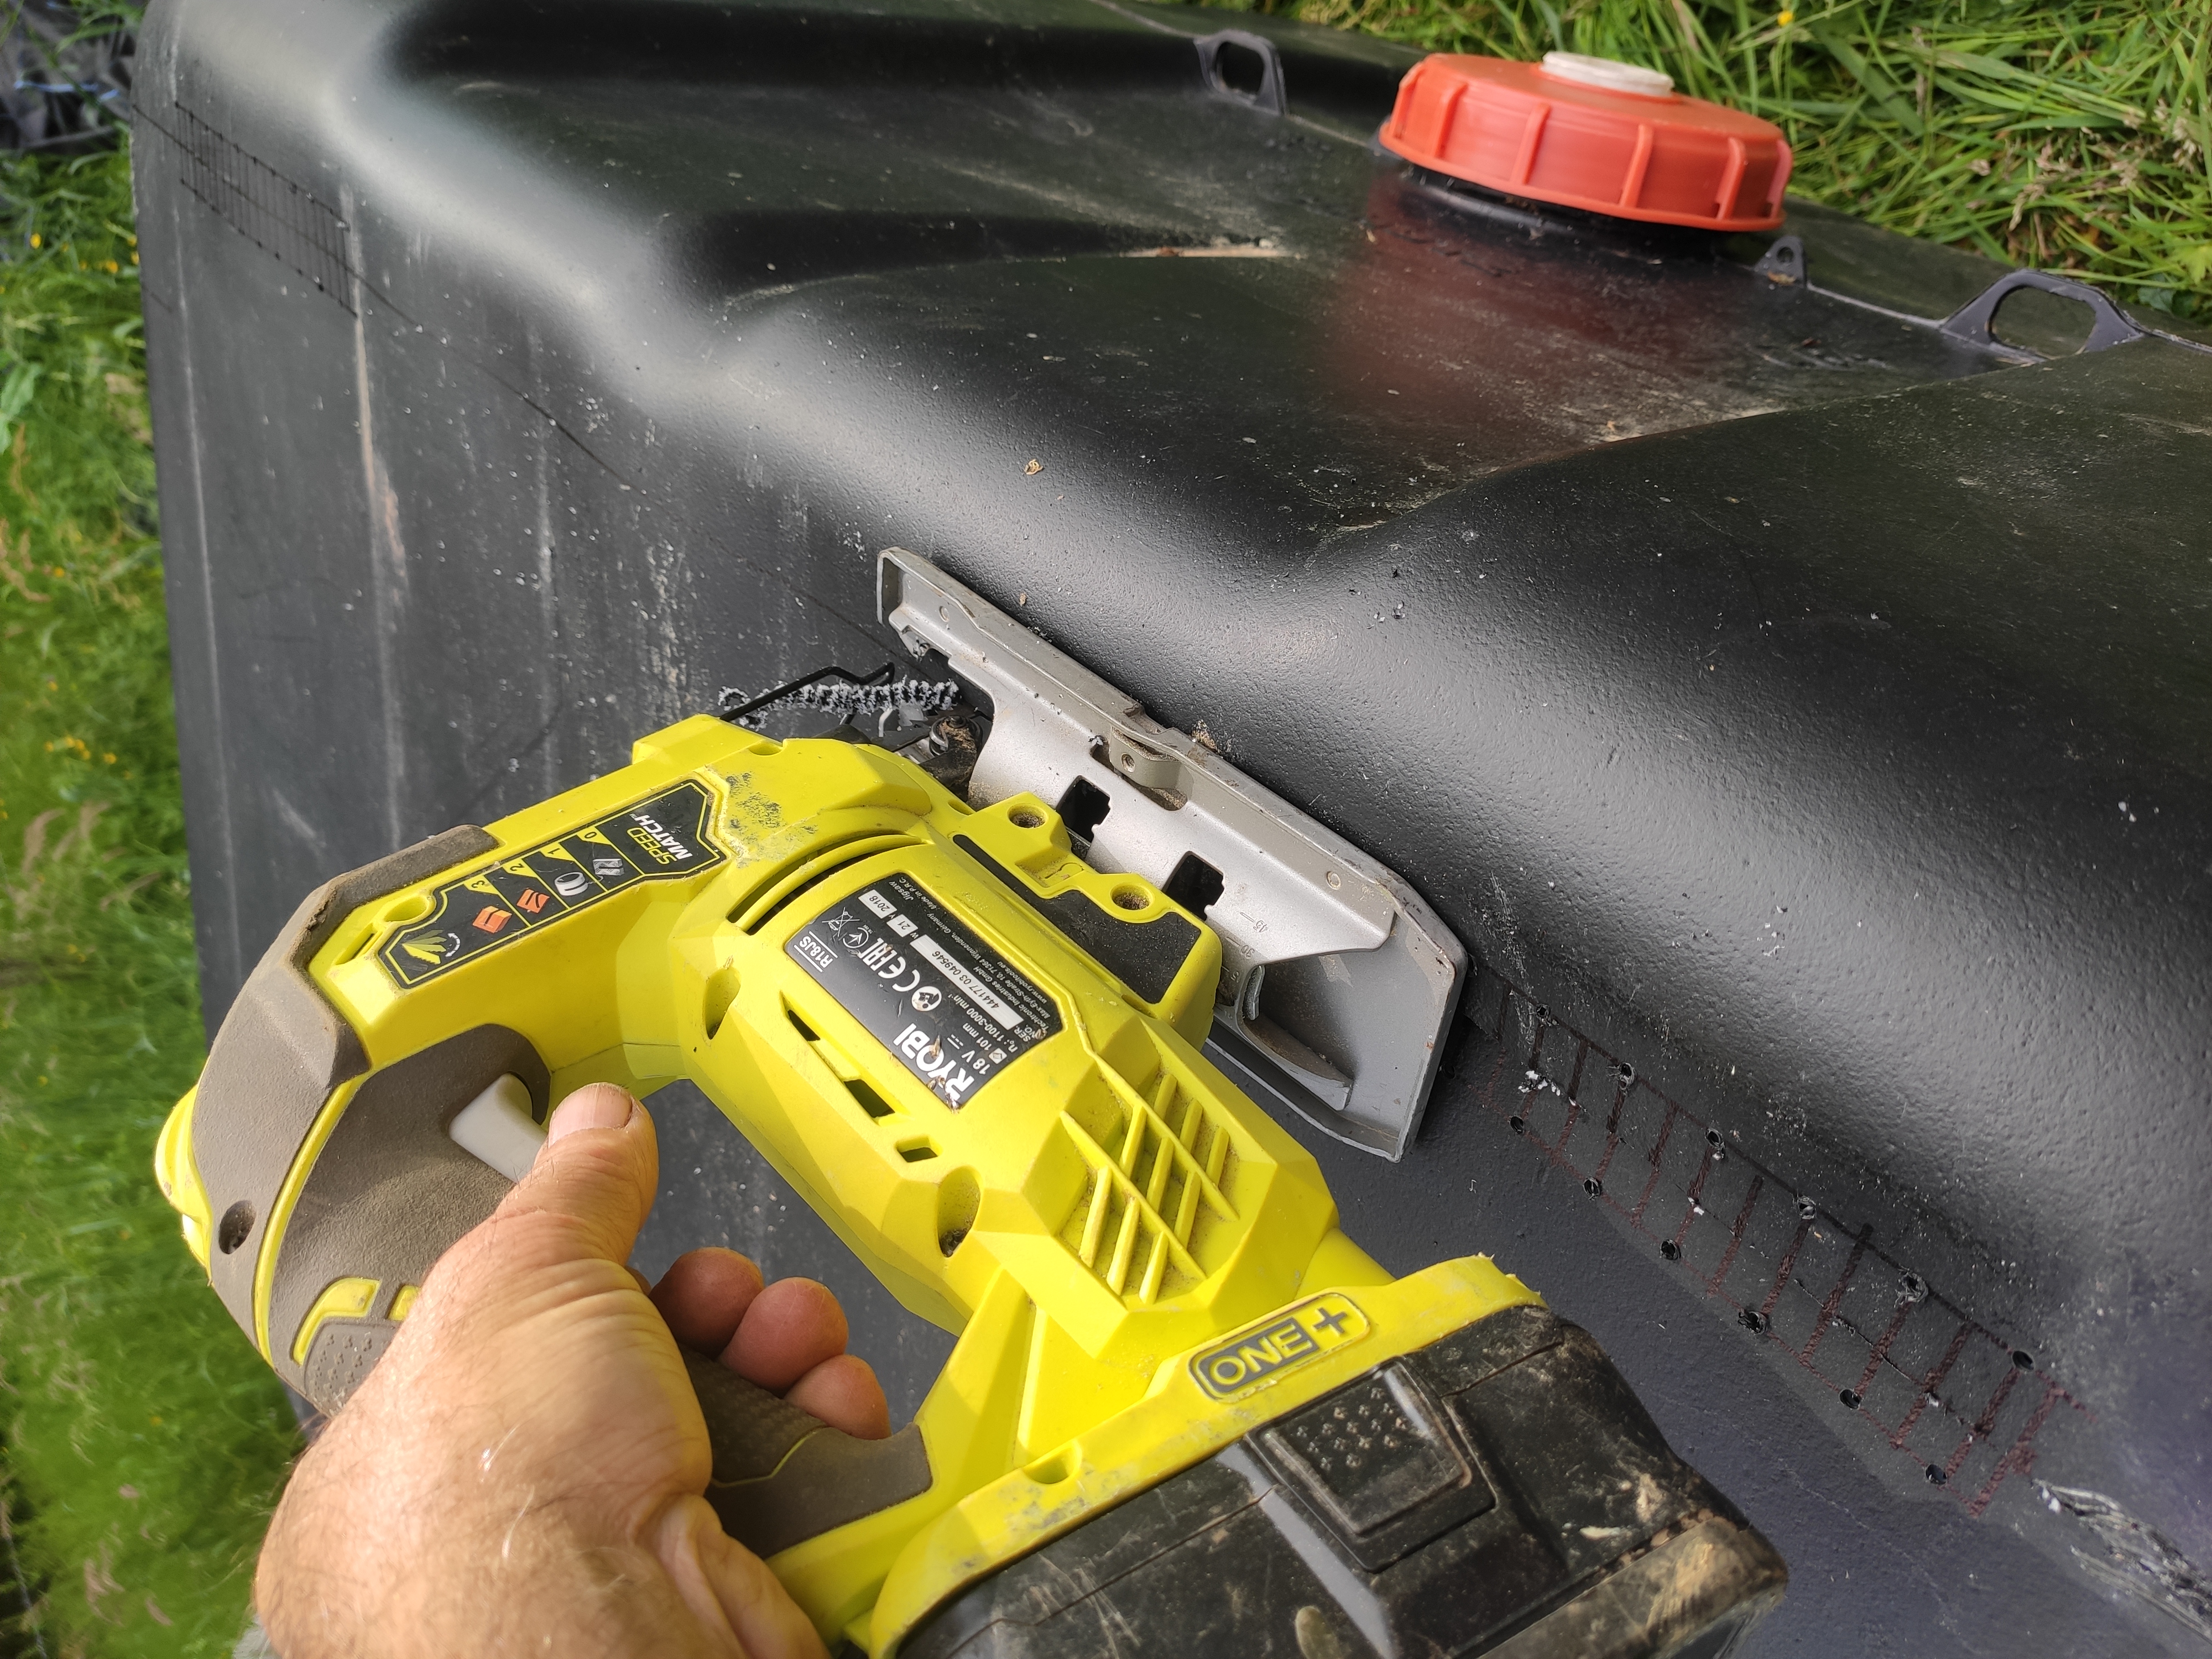
Once you’ve made all the holes, cut along the lid line with a jigsaw.
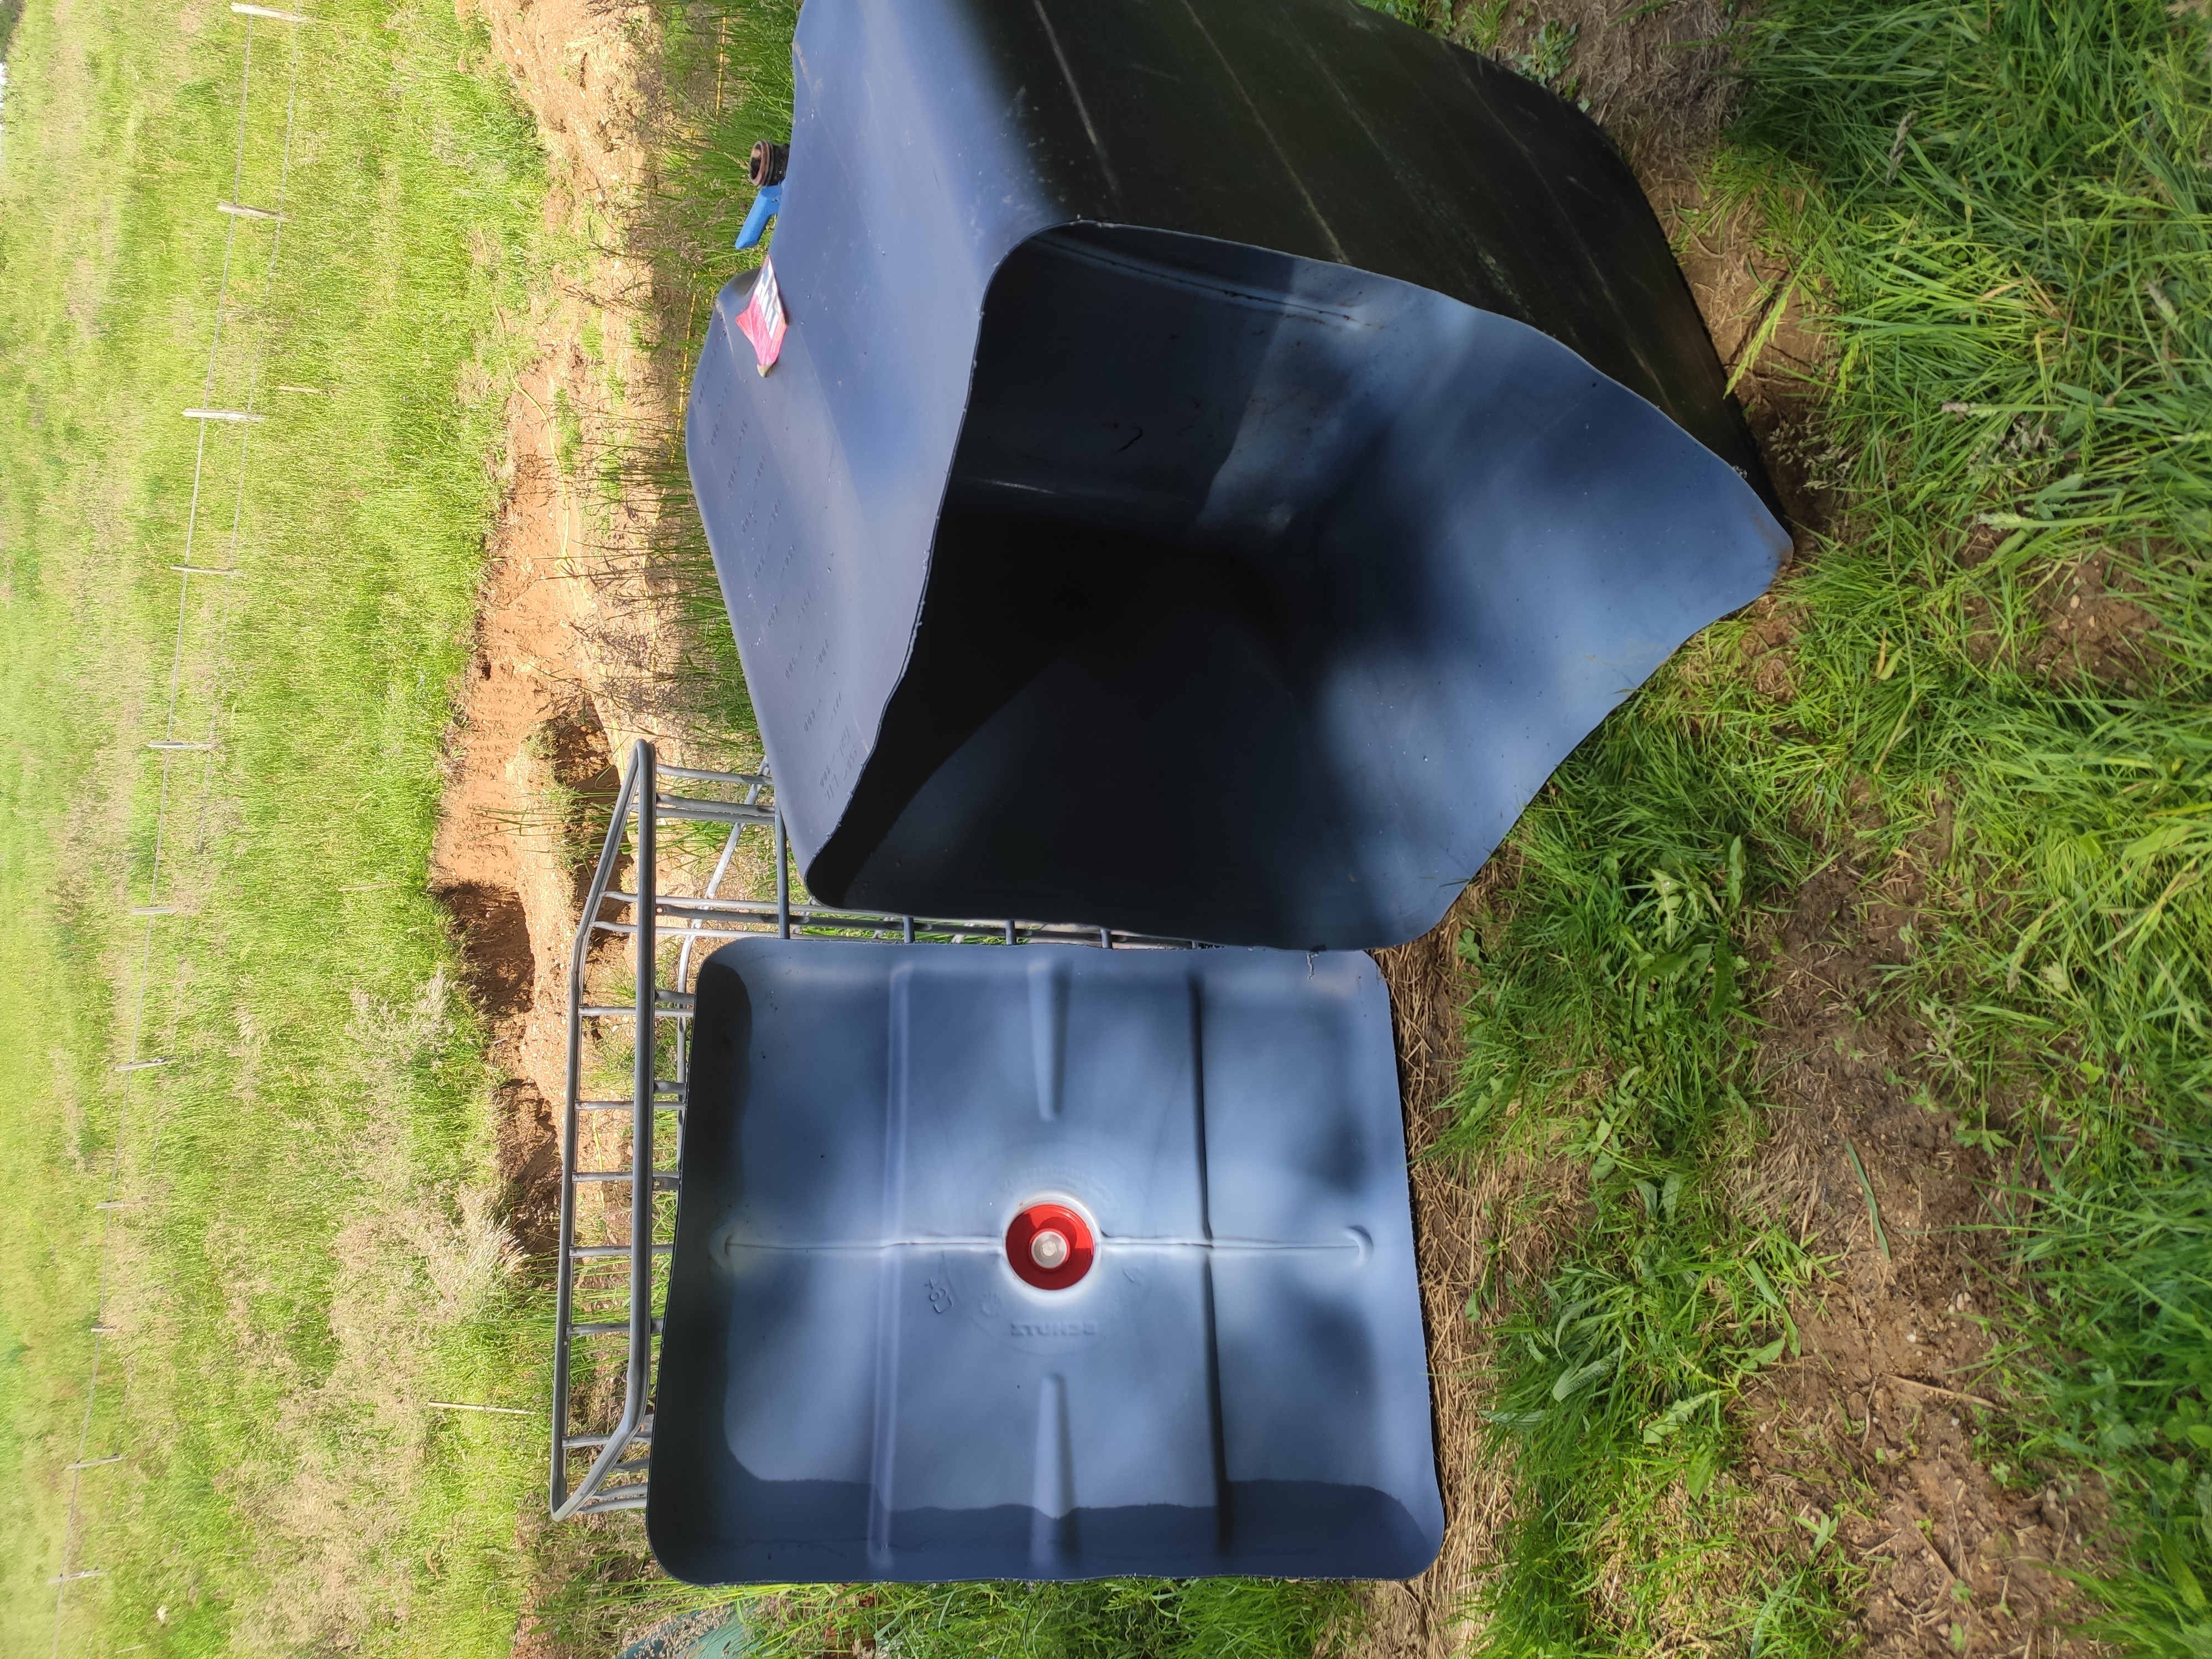
Next, lay the lid close to the tank, and thread the hinges as shown.
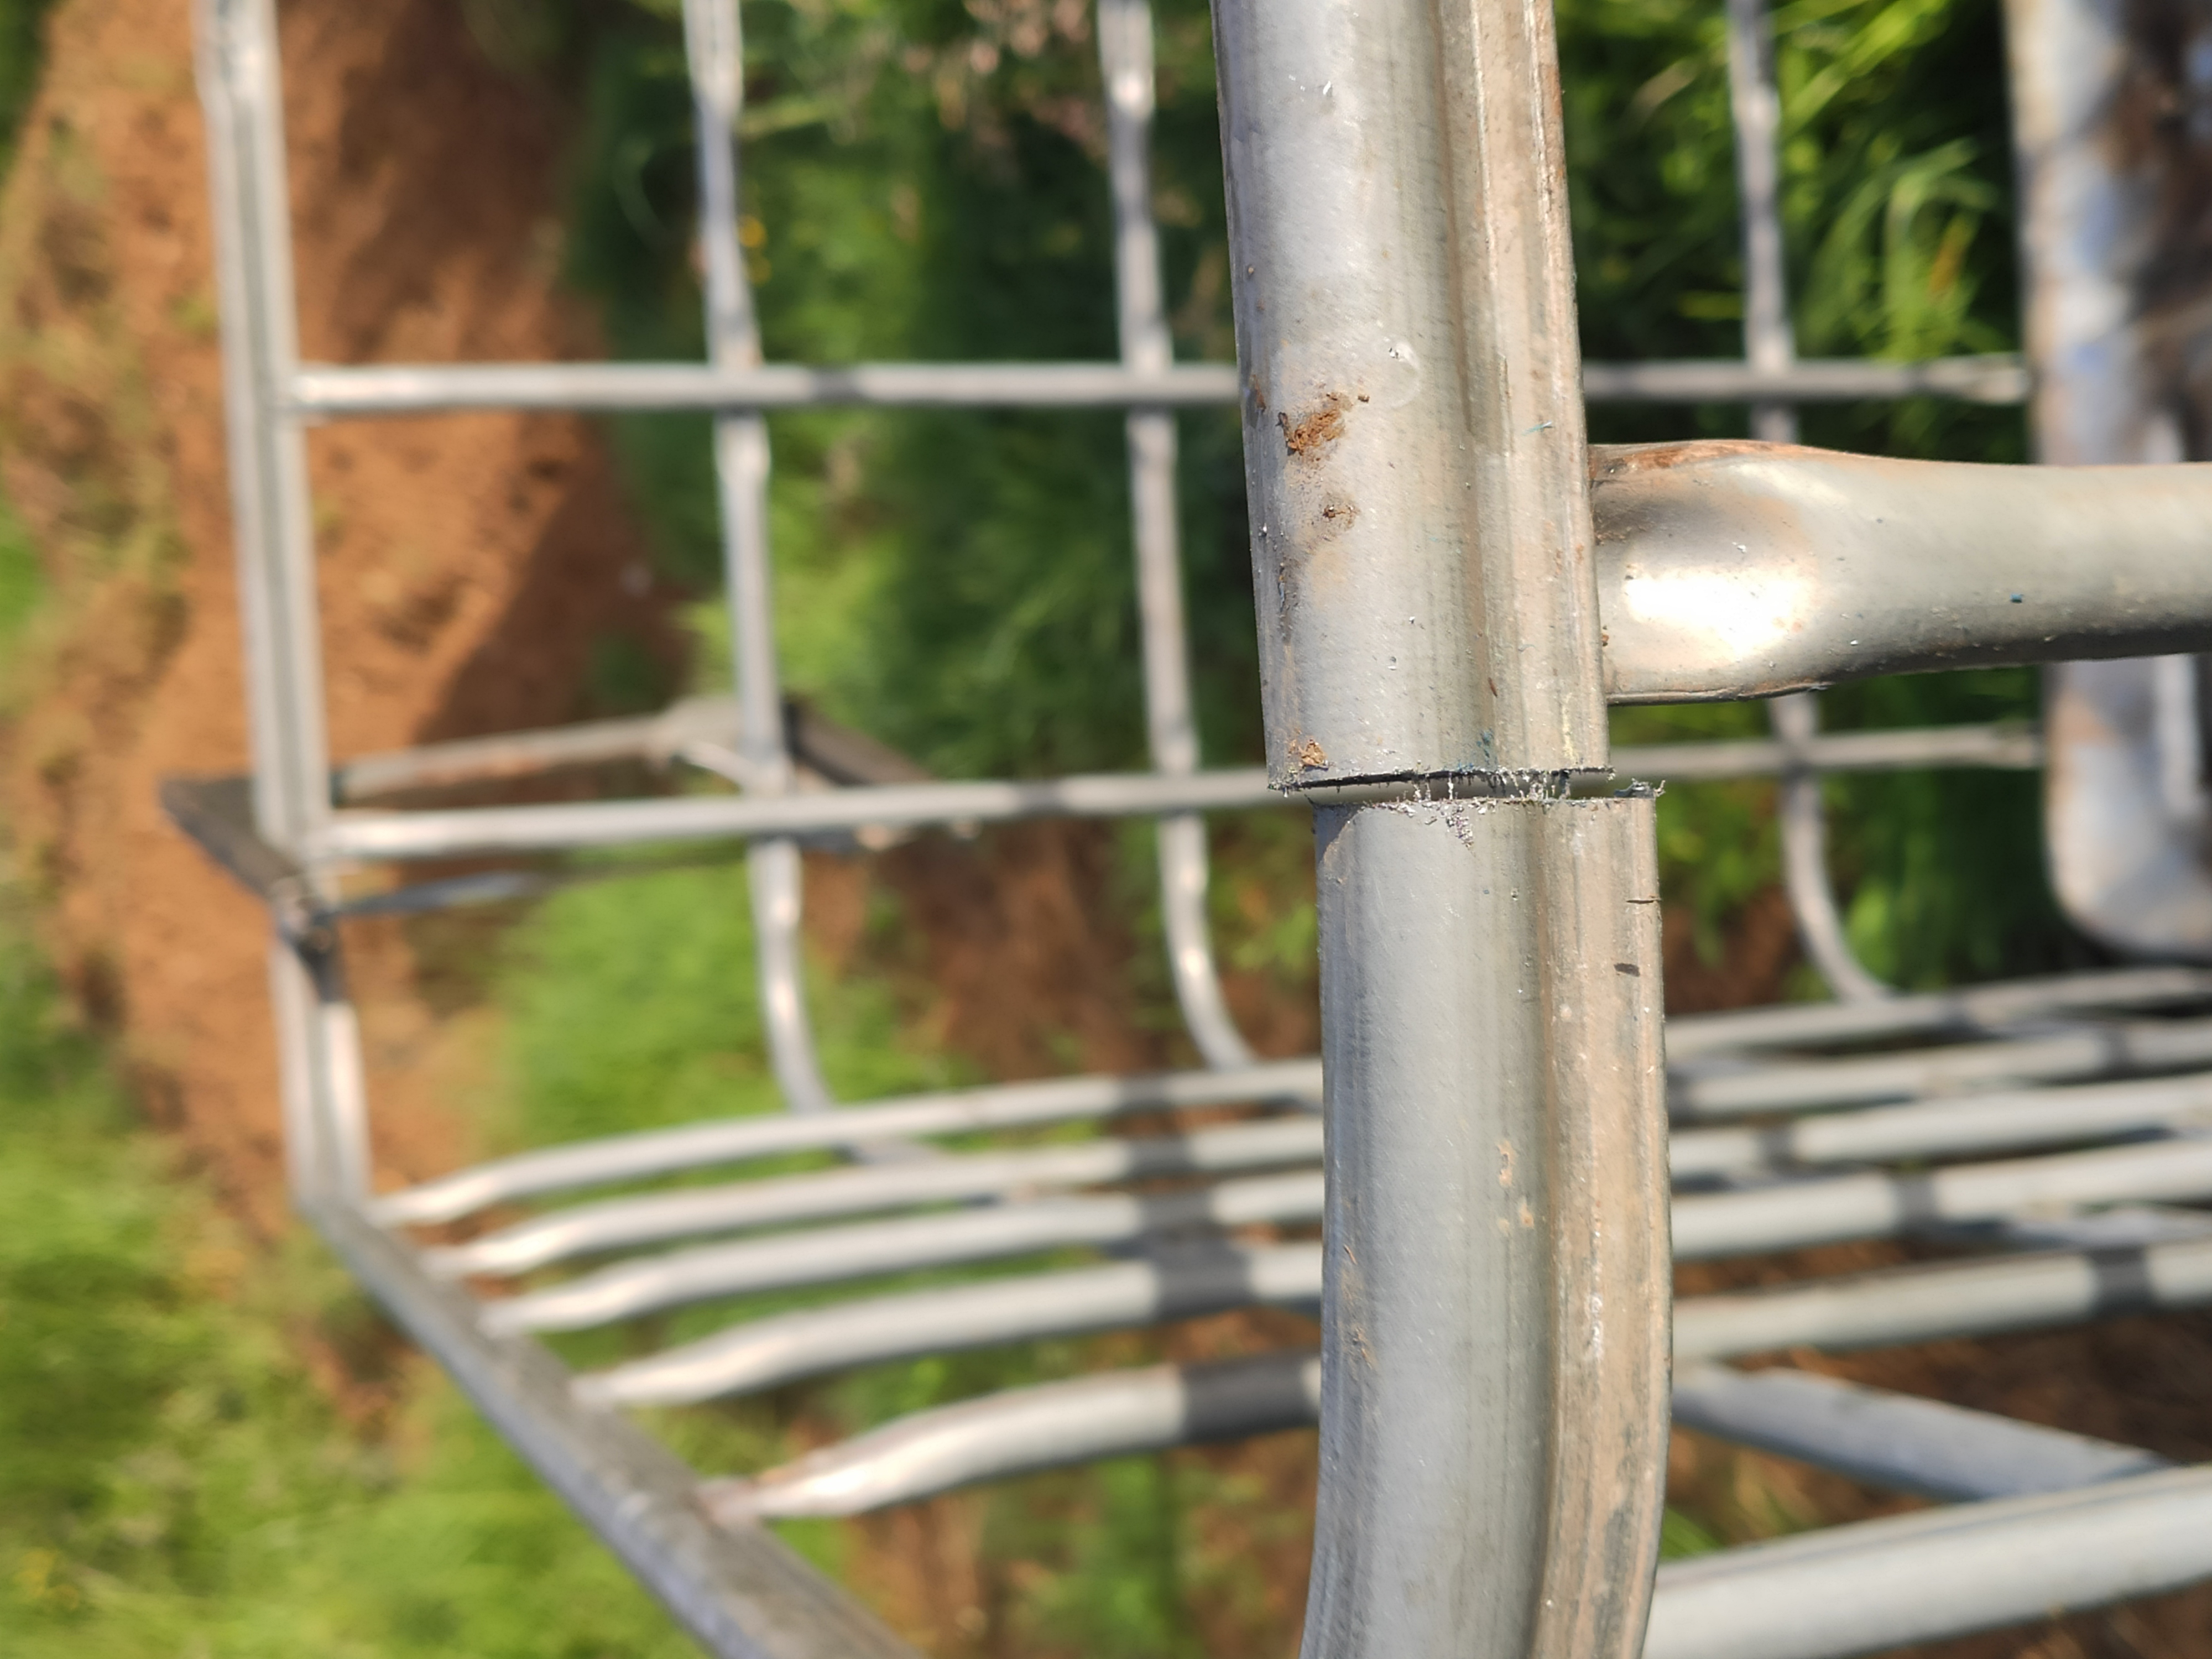
Now we need to tweak the cage so that there’s room to open the lid, but if we do it carefully, we can make the cage support the lid when it’s open, which is handy. At the back of the cage, at the top, cut through the top rail with a hacksaw or grinder. I used a hacksaw, and it didn’t take long.
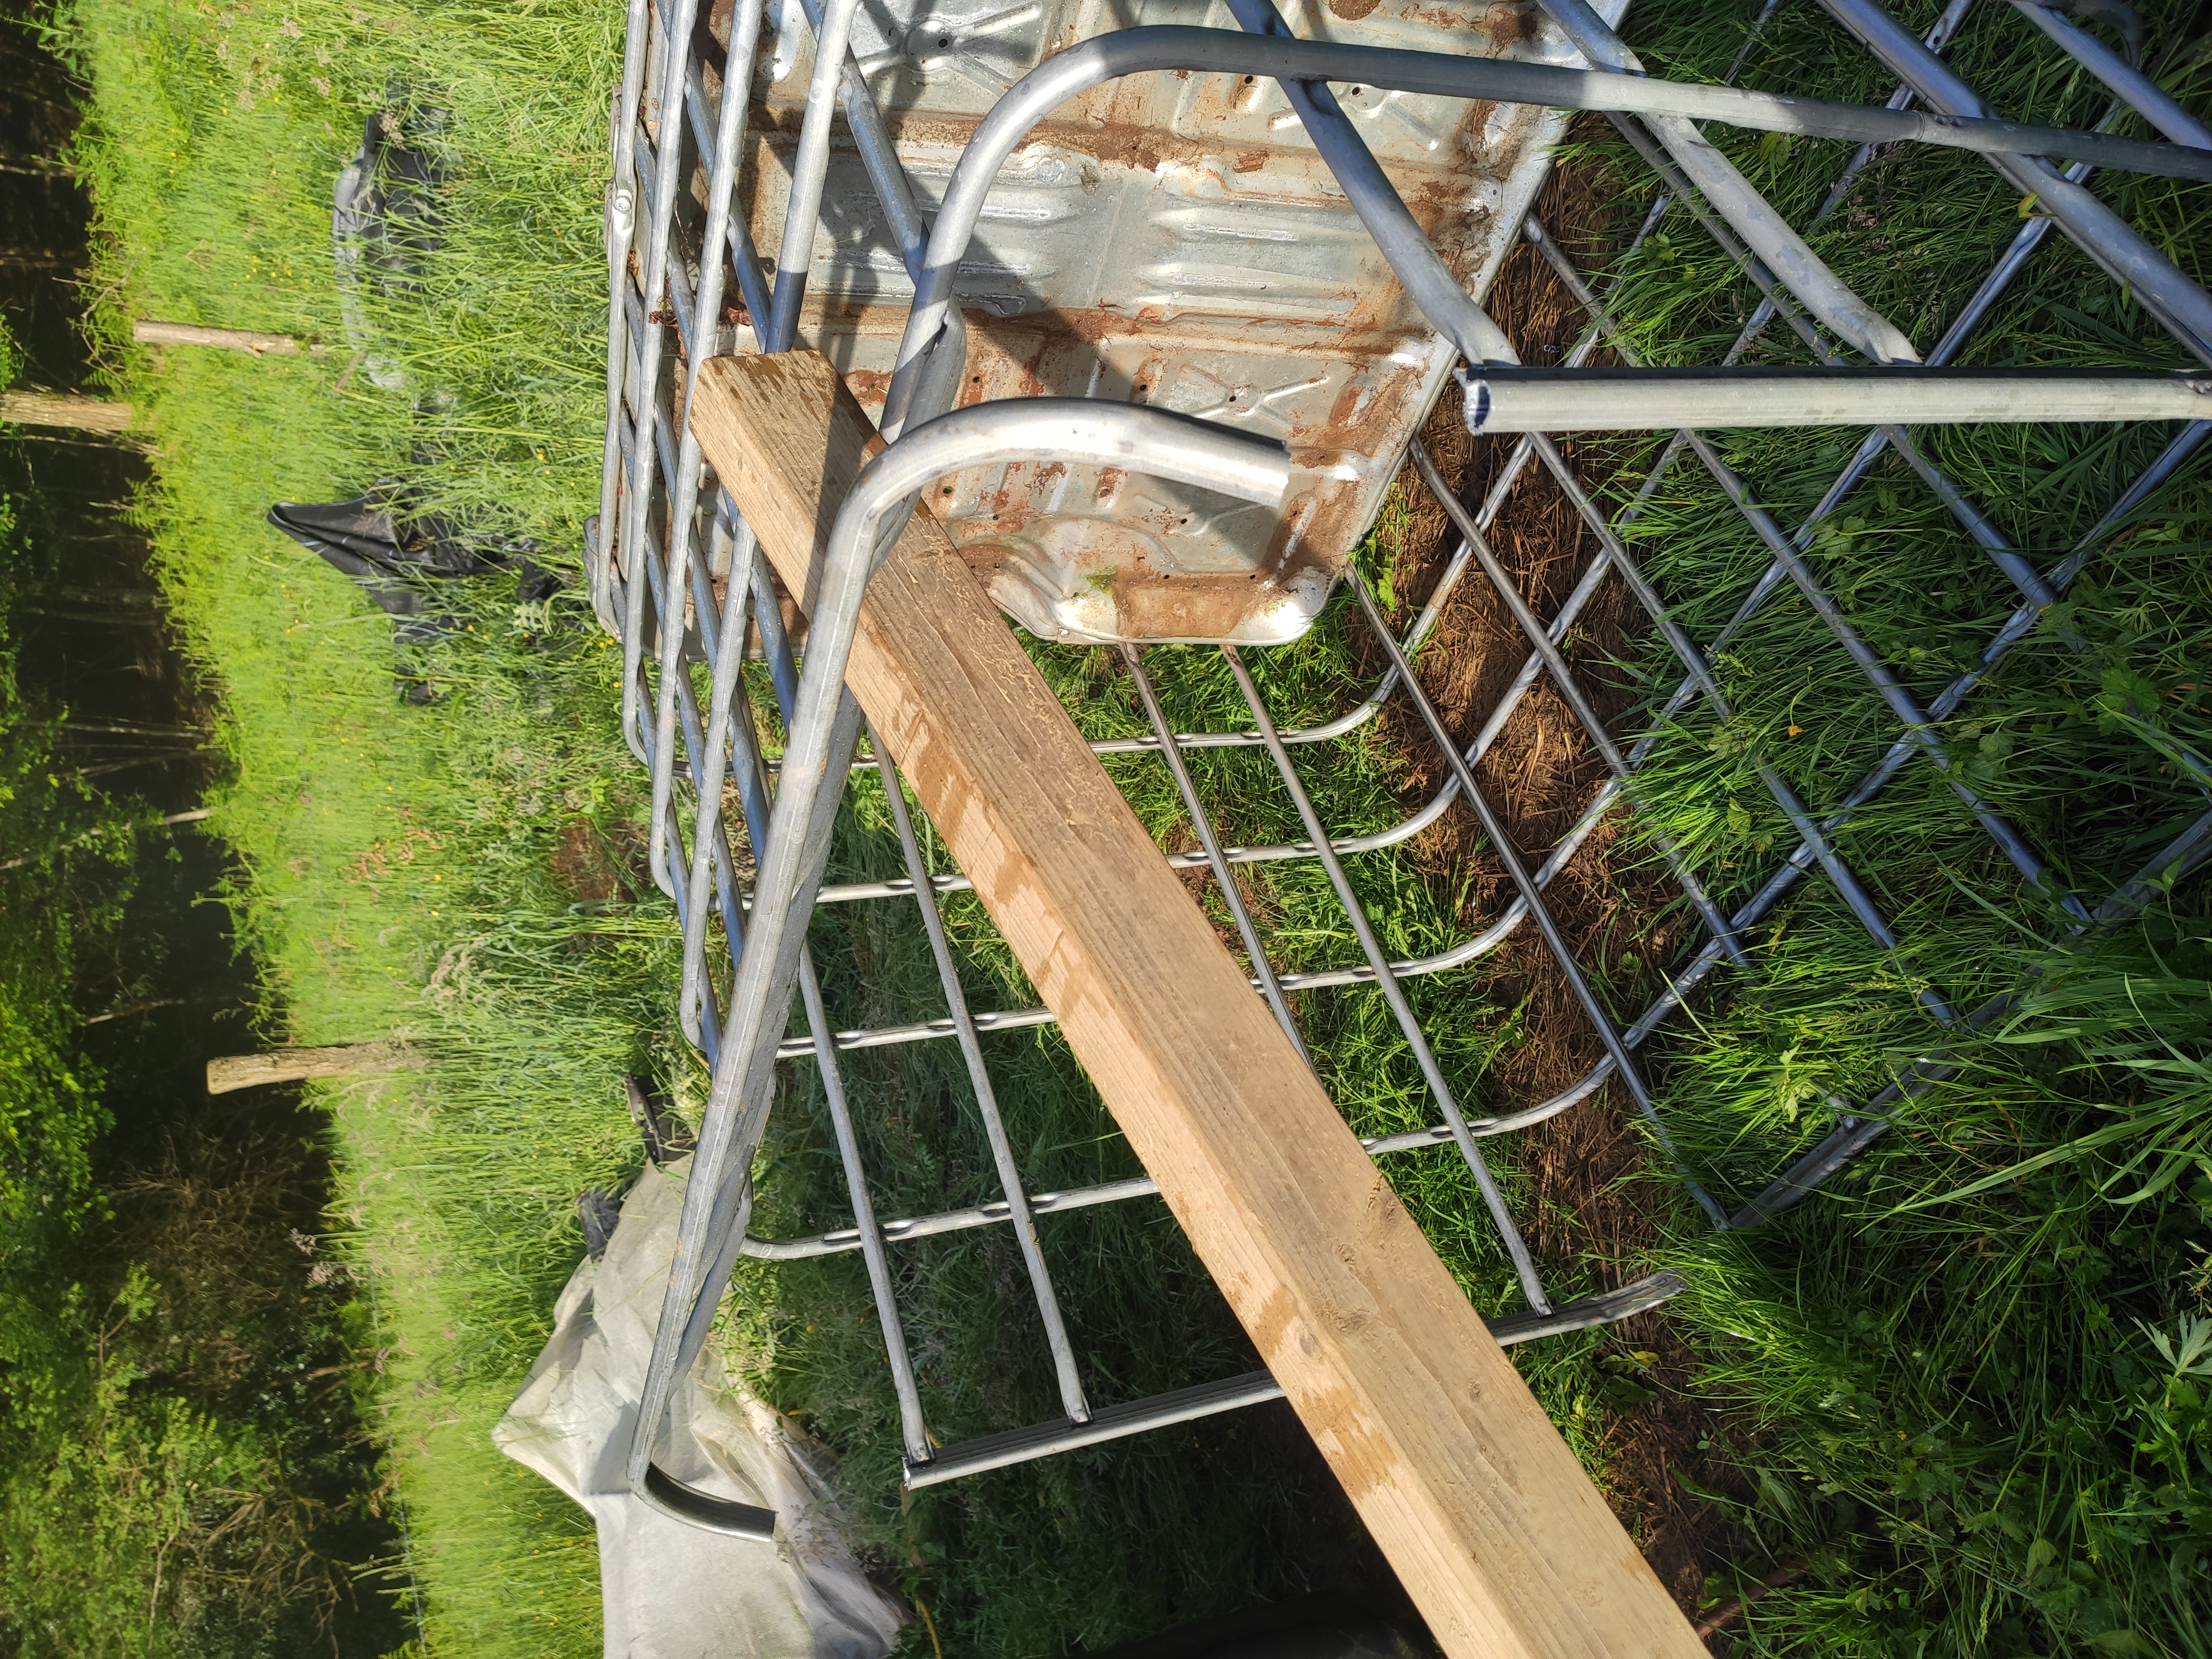
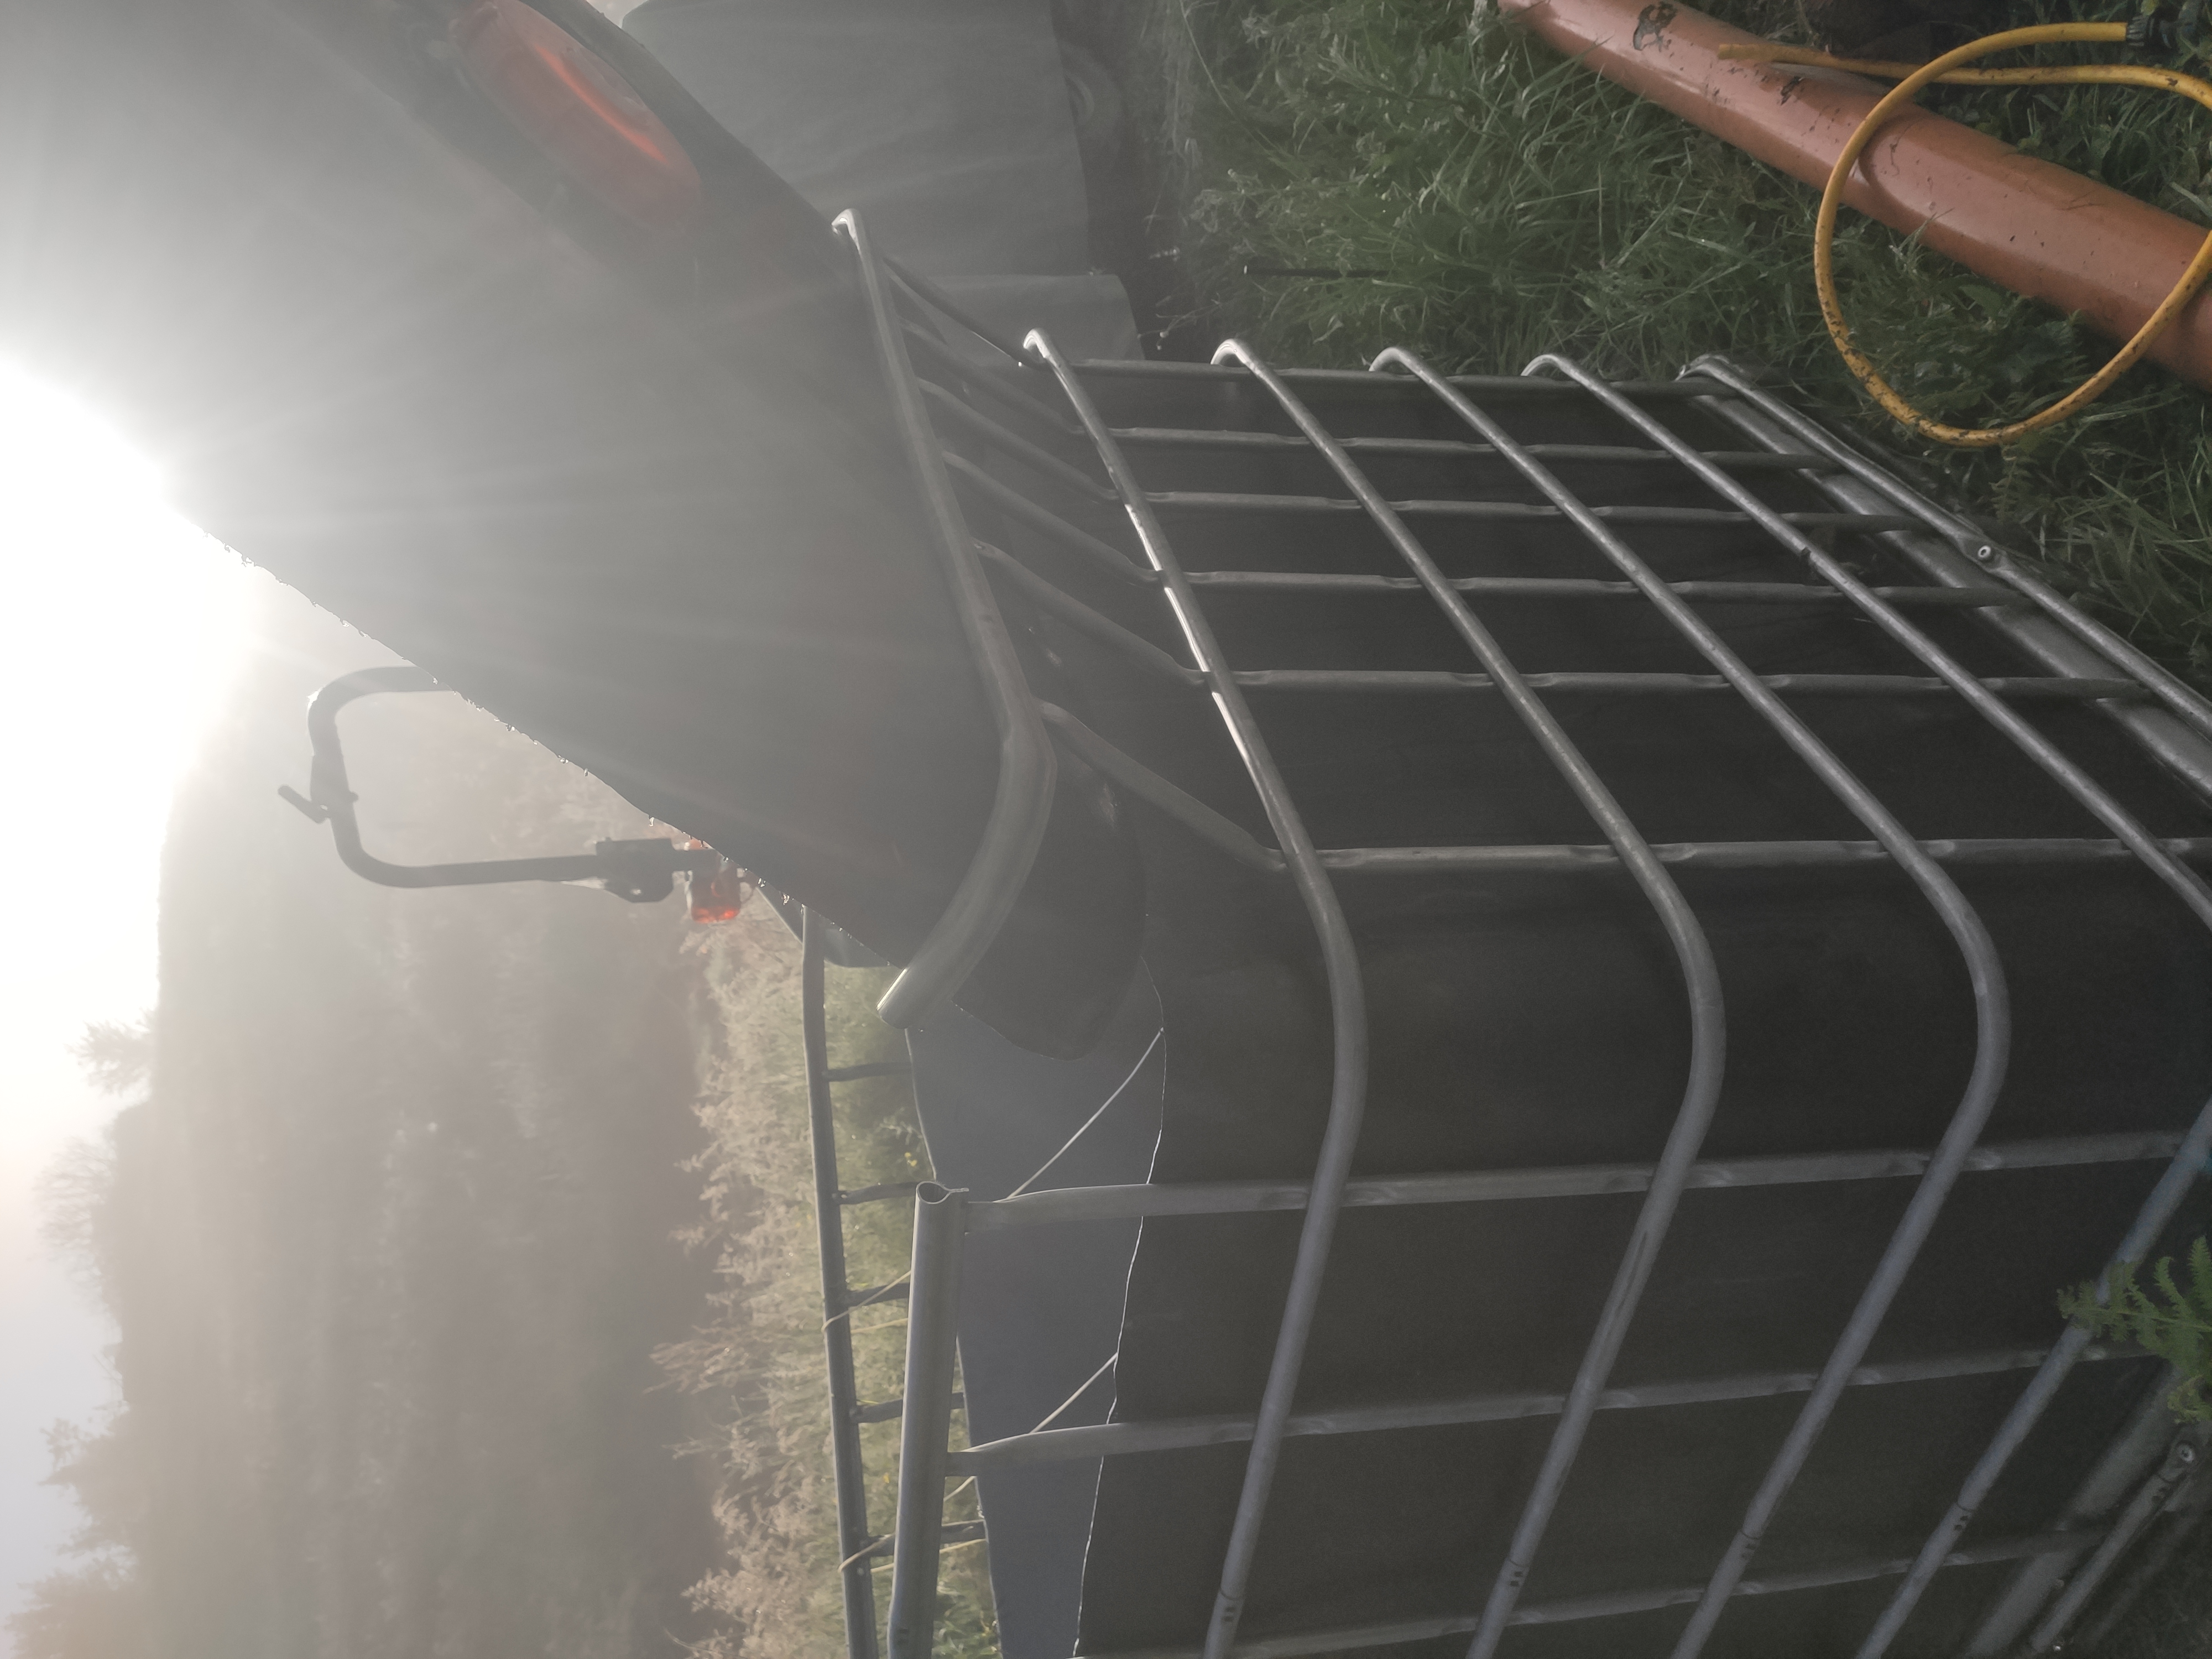
Then put the tank back in the cage. Check the lid support works. You might need to remove the tank to adjust the cage a little.
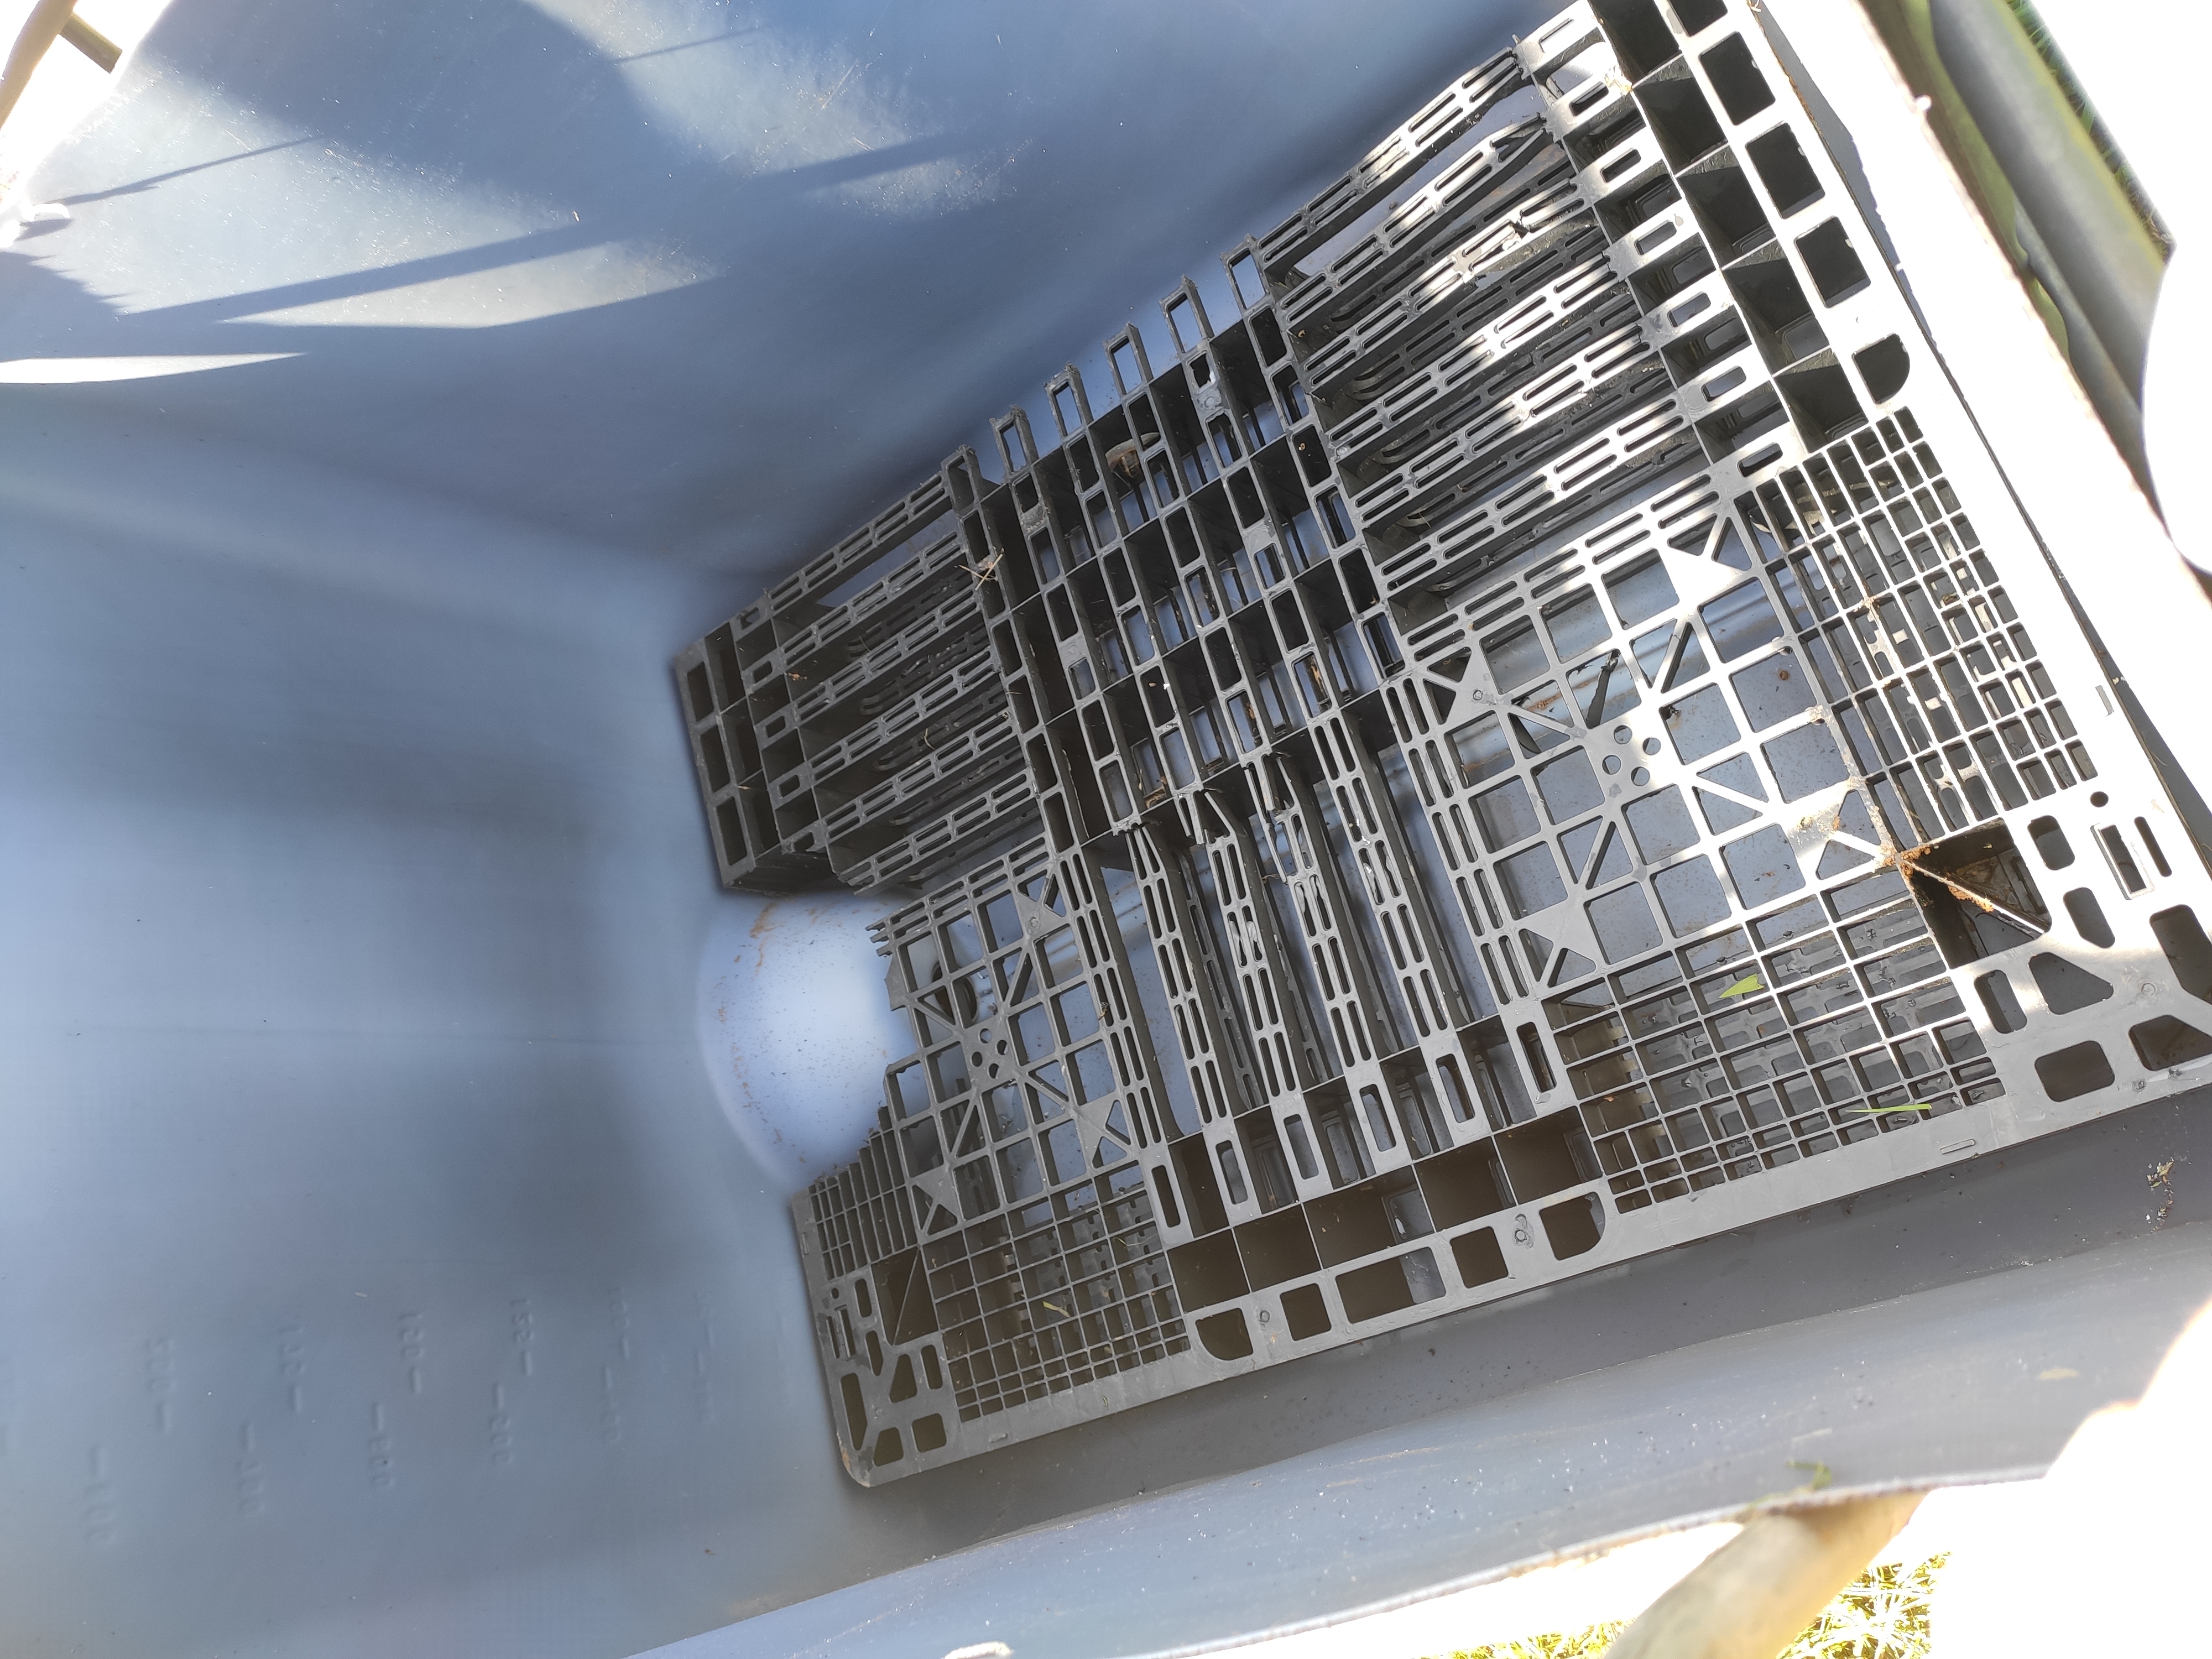
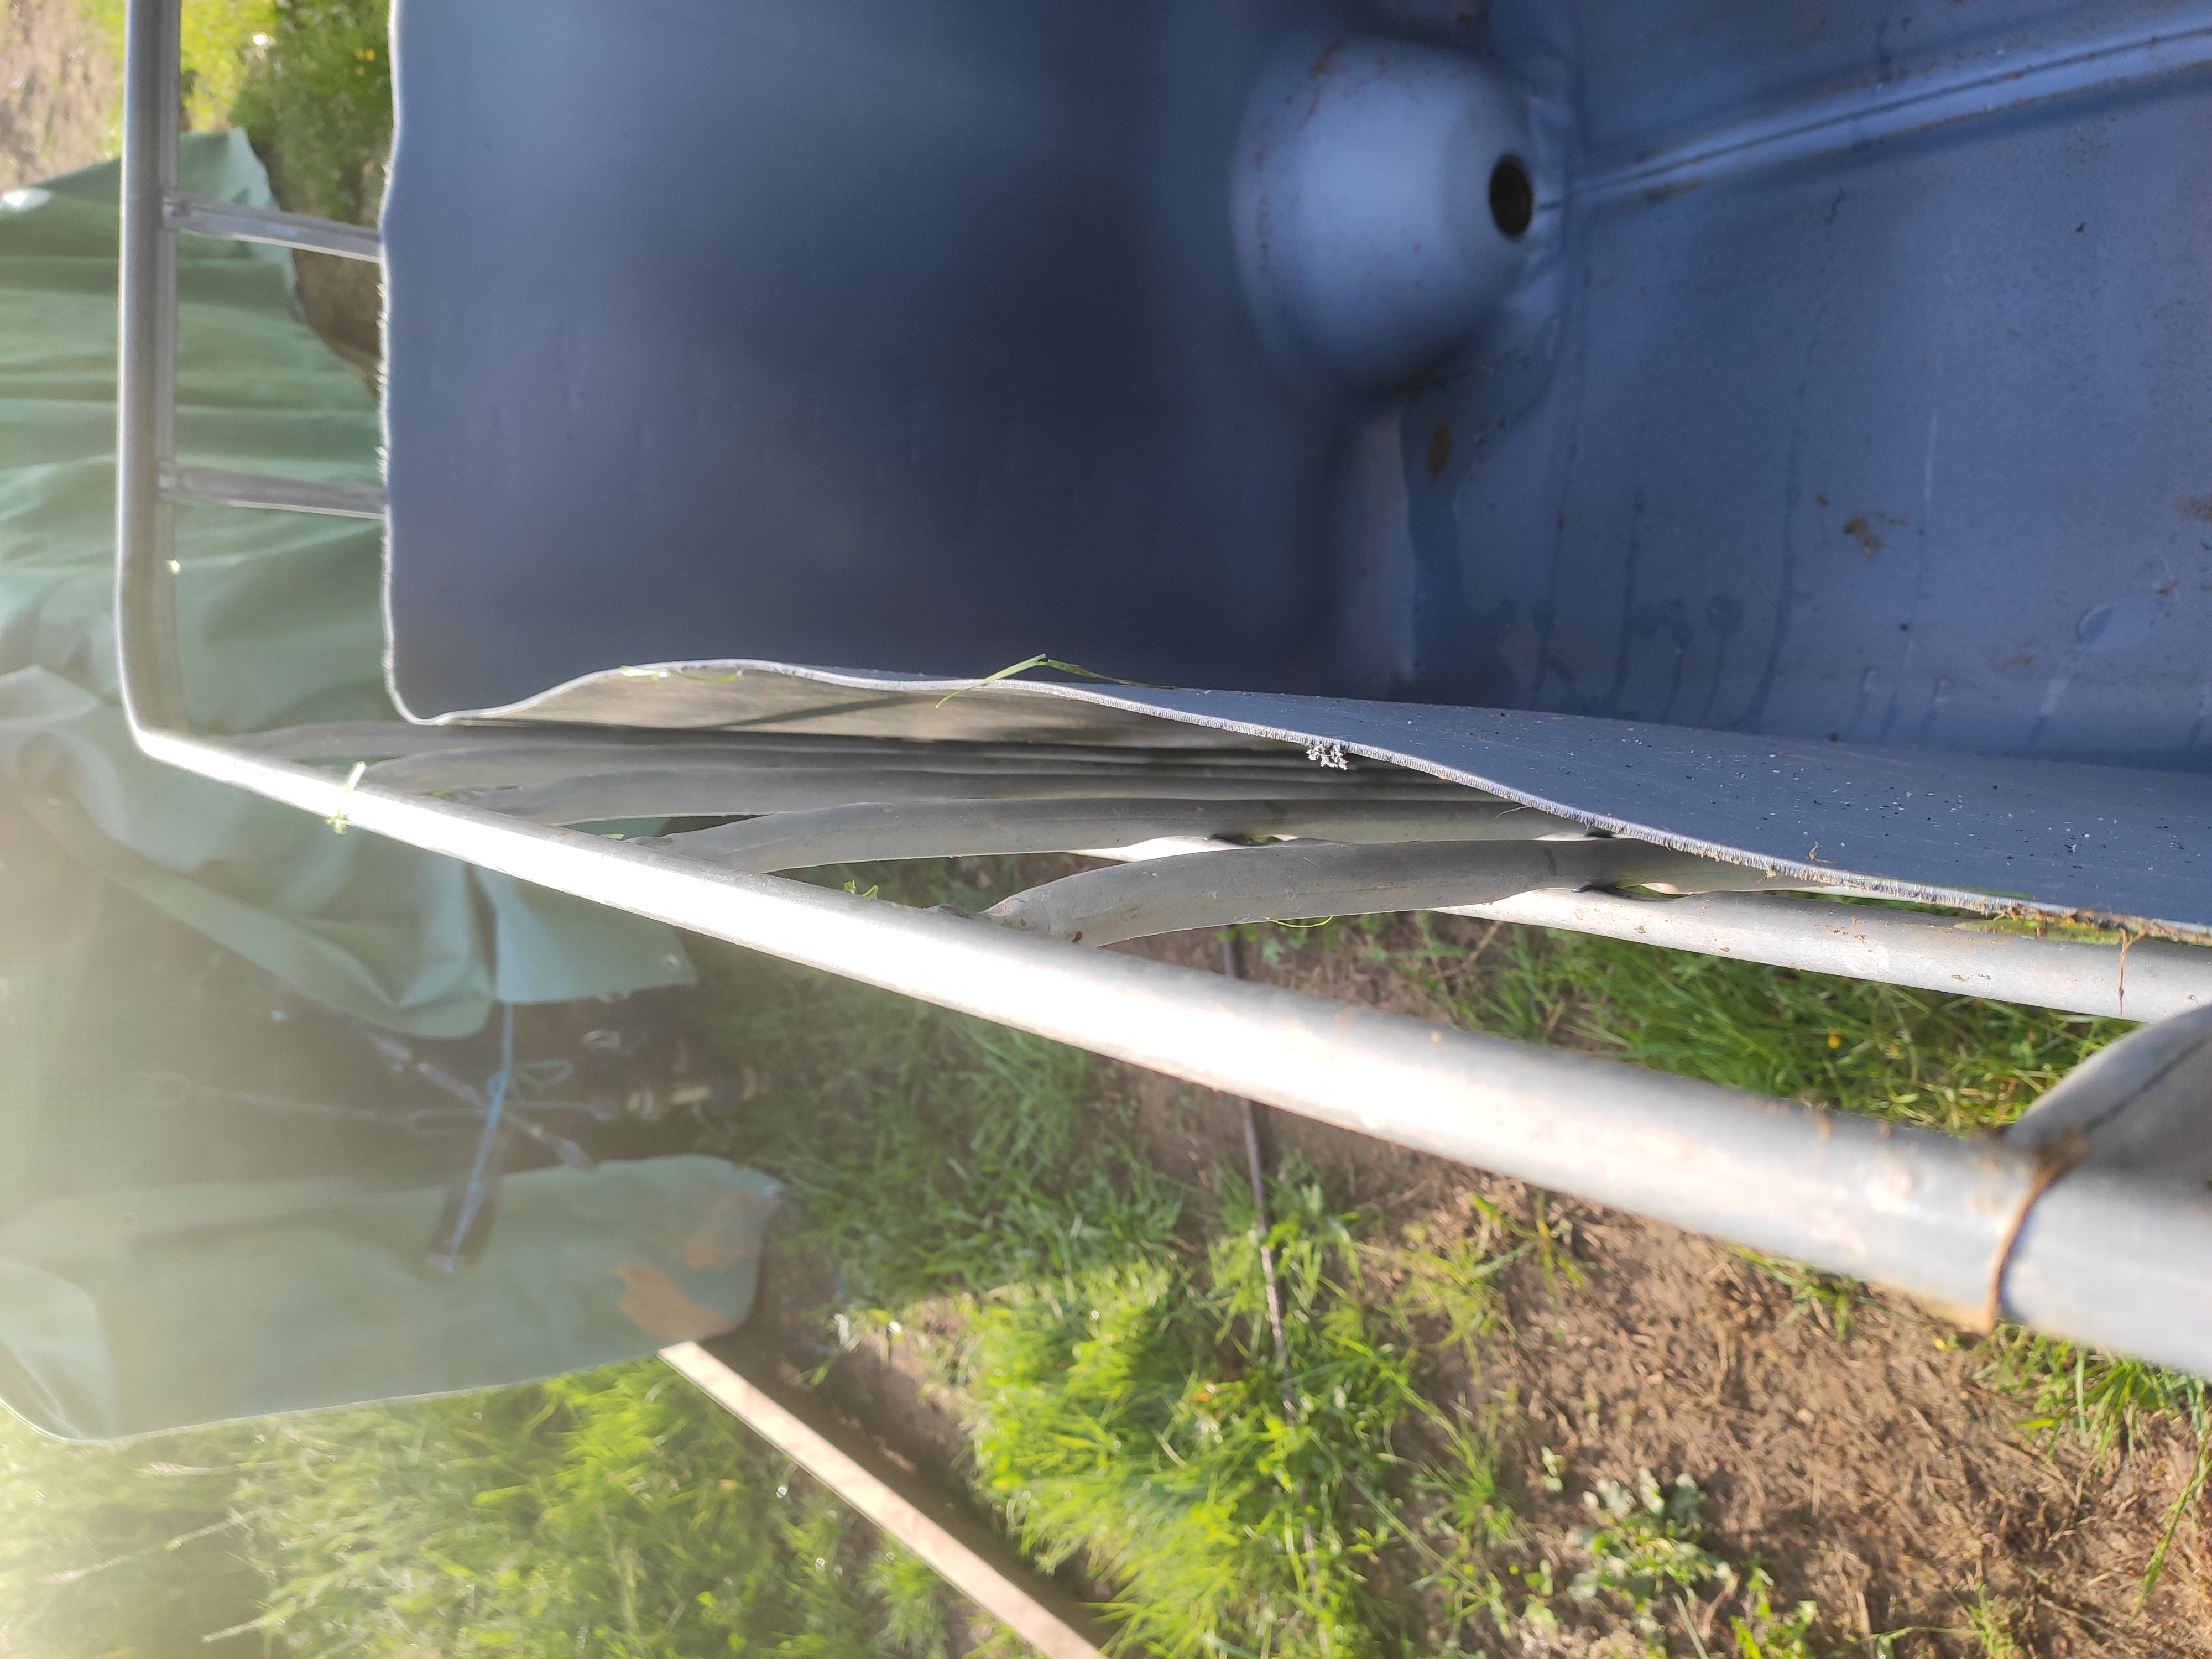
Nearly there. Now we need to cut down the plastic pallet to fit into the bottom. A jigsaw is the ideal tool for this. Preserve as much pallet as you can, shaping it to a close fit to the side of the tank and around the drain hole. I put a sheet of paper in the bottom, cut that to shape and then used that as a template to cut the pallet.

The pallet will support the compost up off the floor, but the holes in the pallet are too coarse – compost will fall through the pallet and clog the system up. You need to lay something on top of the pallet to prevent compost from falling through, but allow air through to the bottom of the heap. I used some non-woven ground cloth – the stuff that is used under driveways and tracks to prevent clay mixing with the hard core on top. I used that because that was what I had to hand. Better is expanded mesh. Galvanised might last a couple of years, but the environment is pretty corrosive for metals, so I’d recommend paying a bit more and buying some stainless steel mesh. It will outlast you.
Now you just need to make an arrangement to collect the liquid. If your garden is on a hill, you could use a separate tank or barrel to collect the liquid. It’s easy to fit a hose to the tap with a hose adapter. For the time being, I just dug a bucket-sized hole in the ground near the tank and led a hose to that. I keep a stick propped up in the bucket, otherwise I find dead mice or lizards floating in it. A stick propped up allows creatures to climb out after they’ve fallen in.
To empty the compost once it’s done, do it the hard way, climbing in the top and forking it out, or tip the tank on its side, and fork it out. A tractor, some levers, or some help might be good for getting the tank onto its side. I have a tractor with a front-end loader, so it’s easy to tip the tank, untie the hinges to remove the lid, then tip the tank upside down and lift it off the heap.